Bikepacking Camp Gear: Complete Guide to Sleep Systems & Cooking
20+ years testing gear in Colorado backcountry
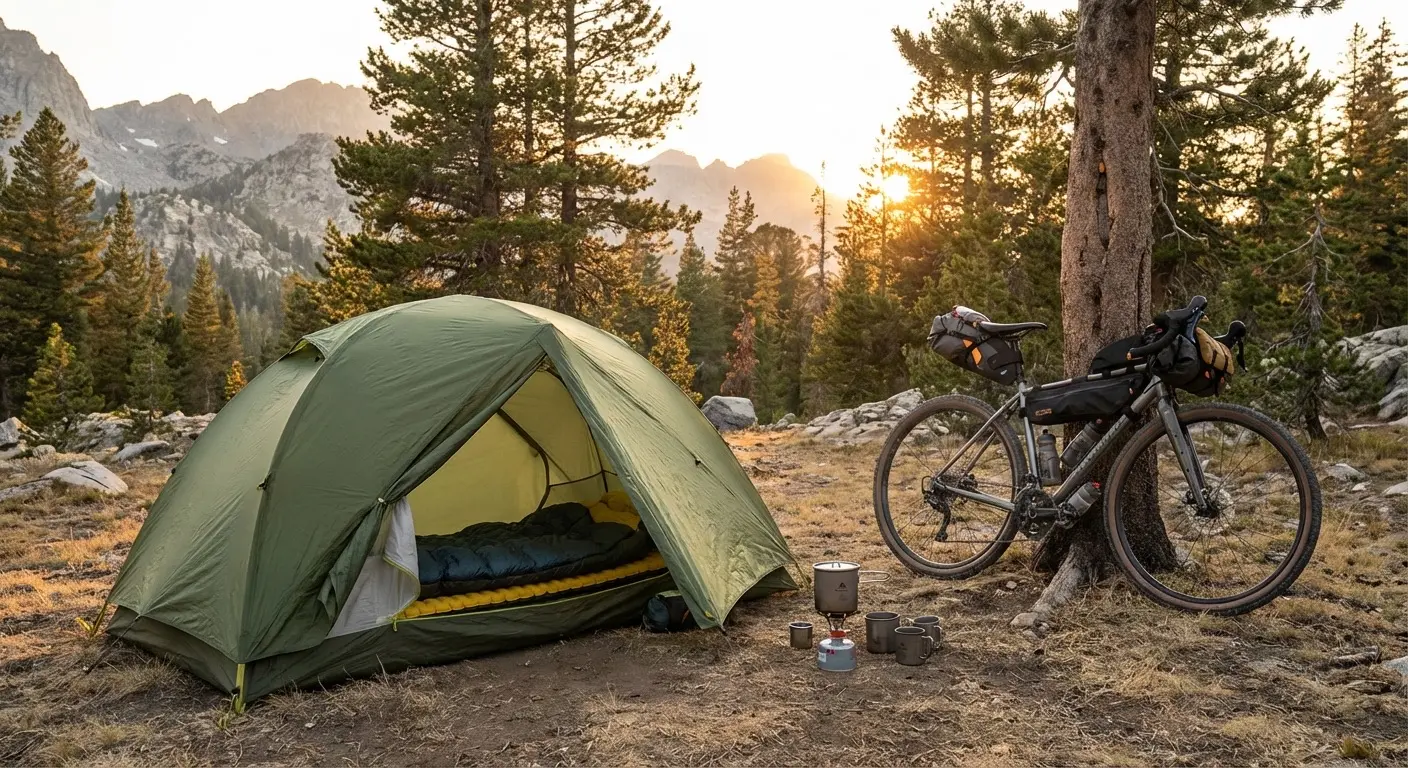
The Gear That Makes or Breaks Your Night
You can ride through almost anything during the day. Rain, headwinds, steep climbs—discomfort fades when you're moving. But camp gear failures compound overnight. A cold sleeping bag means hours of shivering. A deflated pad means waking exhausted. A stove that won't light means going to bed hungry. As REI's camp gear experts emphasize, your sleep and cooking setup directly determines trip success.
Camp gear represents the most personal category of bikepacking equipment. Your sleep system and cooking setup reflect how you travel—whether you prioritize ultralight efficiency, creature comforts, or something between. There's no single right answer, but there are plenty of wrong ones.
This guide covers everything that happens after you stop riding: sleep systems that actually let you rest, shelter options from minimalist bivys to proper tents, and cooking setups ranging from no-cook strategies to full hot meal capability. We'll help you build a camp kit that matches your style, routes, and budget.
For complete gear guidance across all categories, see our Complete Bikepacking Gear Guide. New to bikepacking? Start with our Bikepacking for Beginners Guide.
Sleep Systems: The Foundation of Recovery
Quality sleep determines whether tomorrow's ride feels possible or punishing. Your sleep system has three components that work together: sleeping bag, sleeping pad, and shelter. Skimp on any one and the others can't compensate.
Sleeping Bags: Warmth Without Weight
Your sleeping bag provides insulation against cold air. The eternal debate—down versus synthetic—gets more nuanced for bikepackers than backpackers.
Down sleeping bags like the Sea to Summit Spark compress smaller and weigh less than any synthetic alternative. Premium down bags pack to the size of a water bottle while providing genuine warmth. The trade-off: down loses nearly all insulating value when wet and takes hours to dry.
Synthetic sleeping bags like the Marmot Trestles maintain insulation even when damp—crucial for wet climates or riders who can't guarantee dry conditions. They cost less and require simpler care. The penalty: heavier weight and bulkier packed size.
Our recommendation: Most bikepackers choose down and protect it religiously with waterproof stuff sacks. If you frequently encounter rain or high humidity, synthetic provides peace of mind worth the weight penalty.
For detailed sleeping bag recommendations across every budget, see our Best Sleeping Bags for Bikepacking guide.
Sleeping Pads: Insulation You Lie On
Your sleeping pad matters as much as your bag—possibly more. The pad insulates you from ground cold, which conducts heat away faster than air. A premium sleeping bag on a thin pad performs worse than a budget bag on proper insulation.
R-value measures insulation. Higher numbers mean more warmth:
- R-2 to R-3: Three-season use in mild conditions
- R-3 to R-5: Three-season use including cold nights
- R-5+: Winter or cold-sleeper territory
Pad types for bikepacking:
Inflatable pads offer the best comfort-to-weight ratio. The Therm-a-Rest NeoAir XLite represents the gold standard—R-4.2 insulation at just 12 ounces. The downside: puncture vulnerability and higher cost.
Foam pads like the Therm-a-Rest Z Lite are indestructible and affordable. They also pack bulky and provide less cushioning. Some bikepackers use foam as backup or supplemental insulation under inflatable pads.
Hybrid pads combine foam and air for puncture resistance with reasonable comfort. They split the difference on weight and packed size.
Our recommendation: For most three-season bikepacking, an inflatable pad with R-3 or higher provides the best combination of comfort, warmth, and packability. Carry a patch kit.
For detailed sleeping pad recommendations, see our Best Sleeping Pads for Bikepacking guide.
Temperature Rating Reality
Sleeping bag temperature ratings assume you're using an appropriate pad. A 20°F bag on an R-2 pad won't keep you warm at 20°F—ground cold defeats the bag's insulation.
Match your system:
- 20°F bag + R-3 pad: Comfortable to ~25-30°F
- 20°F bag + R-5 pad: Comfortable to ~15-20°F
- 30°F bag + R-2 pad: Comfortable to ~40°F
Cold sleepers should add 10-15 degrees to expected lows when choosing gear ratings.
The 30-Minute Camp Routine
Here's what an efficient camp setup looks like—developed by bikepackers who've made every mistake:
Minute 0-5: Site Selection and Unload
- Find level ground, clear of debris
- Check overhead for widow-makers (dead branches)
- Unload bags strategically—tent first, food last
- Note: Rushing site selection = poor sleep
Minute 5-15: Shelter Setup
- Pitch tent or shelter (should be automatic by now)
- Inflate sleeping pad inside
- Unpack sleeping bag to let it loft while you cook
- Organize tomorrow's breakfast in accessible spot
Minute 15-25: Food and Water
- Set up stove on stable, fire-safe surface
- Start water boiling
- Prepare tomorrow's water (filter now, not morning)
- Eat dinner while it's hot
Minute 25-30: Prep for Morning
- Hang food properly (or bear canister away from camp)
- Stage tomorrow's clothes and snacks
- Secure bike against overnight weather
- Final check: What will you need at 6am?
Why This Order Matters:
- Sleeping bag needs 15-30 minutes to regain full loft
- Setting up shelter first protects against surprise weather
- Filtering water while cooking saves time
- Staging morning gear prevents 6am chaos in cold/dark
The Reality Check: Your first few camps will take 45-60 minutes. That's normal. The routine becomes automatic with practice. By trip 3-4, you'll hit the 30-minute mark consistently.
Shelter Options: Protection From the Elements
Bikepacking shelters range from minimalist tarps to proper tents. Your choice depends on expected conditions, weight tolerance, and how much you value enclosed protection.
Ultralight Tents
Freestanding and semi-freestanding tents offer the most weather protection with the most convenience. Modern ultralight options like the Big Agnes Copper Spur HV UL1 weigh under 2 pounds while providing full rain protection and bug netting.
Best for: Riders who want reliable protection in variable conditions, those camping in buggy areas, and anyone who values the psychological comfort of enclosed shelter.
For detailed tent recommendations, see our Best One-Person Tents for Bikepacking guide. For help choosing between tent styles, see Freestanding vs Non-Freestanding Tents.
Bivys: Maximum Minimalism
Bivy sacks eliminate the tent entirely—just a waterproof shell that goes over your sleeping bag. They weigh ounces instead of pounds and pack smaller than a water bottle.
Best for: Fair-weather riders, weight-obsessed minimalists, and those who prefer sleeping under the stars with backup rain protection.
Trade-offs: No bug protection in basic models, condensation management challenges, claustrophobic feeling for some sleepers.
For bivy recommendations, see our Bikepacking Bivys: Ultralight Shelter Alternatives guide.
Tarps and Hammocks
Tarps provide rain coverage without full enclosure—lighter than tents with better ventilation but less protection. Hammock setups work in forested areas but require trees and add system complexity.
Best for: Experienced bikepackers who understand their conditions and can accept trade-offs for weight savings.
Cooking Systems: Fuel for Tomorrow's Ride
Some bikepackers eat every meal cold. Others insist on hot coffee and cooked dinners. Neither approach is wrong—but your cooking decisions affect weight, pack space, and trip experience significantly.
For detailed stove comparisons, see our Bikepacking Stoves and Cooking Systems guide. For meal planning and food recommendations, check our Complete Bikepacking Food Guide.
The No-Cook Approach
Eliminating cooking gear saves significant weight and simplifies your kit. No stove, no fuel, no pot, no cleanup.
What no-cook bikepackers eat:
- Tortillas with nut butter, honey, or cheese
- Dried fruit and nuts
- Energy bars and chews
- Instant oatmeal (cold-soakable)
- Tuna or chicken packets
- Bread and spreads from convenience stores
Best for: Ultralight purists, warm-weather riding, routes with frequent resupply, and those who genuinely don't mind cold meals.
Reality check: Most riders doing multi-day trips eventually crave hot food—especially on cold mornings or after particularly hard days.
Canister Stoves
Canister stoves offer the best convenience-to-weight ratio for most bikepackers. They light instantly, simmer well, and require zero priming or maintenance.
The Jetboil MiniMo integrates stove and pot into one efficient system—ideal for boiling water and simple one-pot meals. The MSR PocketRocket 2 weighs just 2.6 ounces and works with any pot.
Fuel considerations: Isobutane-propane canisters are widely available in outdoor stores but harder to find in remote areas. Plan fuel resupply carefully on longer routes.
Best for: Most bikepackers wanting hot meals with minimal fuss.
Alcohol Stoves
Alcohol stoves weigh almost nothing and burn denatured alcohol available at hardware stores worldwide. They're simple, silent, and nearly foolproof.
Trade-offs: Slower boiling times, no simmer control, fuel efficiency drops in cold or wind.
Best for: International travel (fuel availability), ultralight setups where hot water is occasional, and simplicity-focused riders.
Solid Fuel Tablets
Esbit-style fuel tablets (hexamine) weigh almost nothing and pack flat. They're reliable backup even if not your primary cooking method.
Best for: Emergency backup, ultralight boiling-only setups, and weight-obsessed minimalists.
Wood-Burning Stoves
Stoves like the Solo Stove Lite burn twigs and small sticks—no fuel to carry. They work brilliantly in forested areas with dry conditions.
Trade-offs: Useless above treeline or in wet weather. Slower than canister stoves. Leave black marks on cookware.
Best for: Forested routes, long expeditions where fuel resupply is difficult, and those who enjoy the ritual of building small fires.
Cookware Essentials
If you're bringing a stove, you need something to cook in. The key is finding the minimum effective setup.
The Basics
One pot does most jobs. A 750ml-1L titanium pot handles everything from boiling water for coffee to cooking ramen. The TOAKS 750ml Titanium Pot weighs just 3.5 ounces and nests a fuel canister inside.
A long-handled spoon reaches the bottom of deep pots and doubles as a stirring implement. Titanium lasts forever; plastic works fine and costs less.
A mug or cup for coffee and hot drinks—unless your pot doubles as your drinking vessel.
What Most Bikepackers Skip
- Plates and bowls: Eat from the pot
- Full utensil sets: One spork or spoon handles everything
- Large cooksets: More capacity than solo riders need
- Specialized gear: Keep it simple
For specific cookware recommendations, see our Bikepacking Cookware: Pots, Pans, and Utensils guide.
Food Storage
Stuff sacks keep food organized in your frame bag. Separate "cook" items from "snack" items for easier access.
Bear canisters are required in some wilderness areas. Check regulations for your route—these affect packing significantly.
Odor-proof bags like Opsak provide some scent protection for bear country where canisters aren't required.
Building Your Camp Kit
Ultralight Setup (~3 lbs total)
For weight-obsessed riders in fair conditions:
| Item | Example | Weight |
|---|---|---|
| Sleeping bag | Sea to Summit Spark 28F | 1.4 lbs |
| Sleeping pad | Therm-a-Rest NeoAir XLite Short | 0.6 lbs |
| Shelter | Bivy or ultralight tarp | 0.5-1 lb |
| Cooking | No-cook or alcohol stove | 0-0.5 lbs |
Total: ~3-4 lbs depending on cooking choice
Comfort Setup (~5-6 lbs total)
For riders prioritizing rest and hot meals:
| Item | Example | Weight |
|---|---|---|
| Sleeping bag | Kelty Cosmic 20 | 2.5 lbs |
| Sleeping pad | Therm-a-Rest NeoAir XLite | 0.8 lbs |
| Shelter | Ultralight 1P tent | 1.5-2 lbs |
| Cooking | Canister stove + pot | 0.5-0.8 lbs |
Total: ~5-6 lbs with full comfort and cooking capability
Budget Setup (~6-7 lbs total)
For new bikepackers testing the waters:
| Item | Example | Weight |
|---|---|---|
| Sleeping bag | ECOOPRO Down 32F | 1.8 lbs |
| Sleeping pad | Foam or budget inflatable | 0.8-1.5 lbs |
| Shelter | Budget 1P tent | 2.5-3 lbs |
| Cooking | Basic canister setup | 0.8 lbs |
Total: ~6-8 lbs at accessible price points
Packing Camp Gear
Where you pack camp gear affects bike handling and access convenience.
Saddle Bag Contents
- Sleeping bag (compressed, at bottom)
- Sleeping pad (if inflatable)
- Tent body or bivy
- Extra clothing layers
These lightweight but bulky items belong in your saddle bag, kept stable with compression straps.
Frame Bag Contents
- Stove and fuel
- Cookware
- Dense food items
- Fire-starting supplies
Heavy cooking gear belongs in your frame bag where weight stays low and centered.
Handlebar Bag Contents
- Tent poles (if applicable)
- Items you need during the day
- Quick-access layers
For complete packing strategy, see our Bikepacking Bag & Storage Guide.
FAQ
What's the minimum camp gear I need for bikepacking?
Sleeping bag, sleeping pad, and some form of shelter—even if that shelter is just an emergency bivy for unexpected weather. Many bikepackers start with just these three items and eat no-cook food.
How cold is too cold for bikepacking?
There's no universal answer—it depends entirely on your gear. With proper cold-weather sleeping bag, insulated pad, and four-season shelter, bikepackers camp comfortably below 0°F. With three-season gear, most riders stay comfortable above 30°F. For complete cold-weather guidance, see our Winter Bikepacking: Cold Weather Guide.
Do I really need a stove?
No. Many successful bikepackers never carry one. But hot coffee on cold mornings and warm meals after hard days significantly improve trip experience. Consider your routes, duration, and personal preferences.
How do I keep my sleeping bag dry?
Use a waterproof stuff sack or dry bag, even inside an already-waterproof saddle bag. Pack your sleeping bag first (at the bottom) where it's most protected. If it gets wet, dry it at the first opportunity—don't pack a wet down bag for later.
What about camp comfort items?
Small luxuries like inflatable pillows and sit pads can make a big difference in camp quality without adding much weight. For recommendations, see our Camp Pillows and Comfort Items for Bikepacking guide.
What about hammock camping?
Hammocks work for bikepacking in forested areas but require trees at every campsite. The total system weight (hammock, straps, rain fly, underquilt, bug net) often exceeds ultralight tent setups. Best for regions where trees are guaranteed. For a deep dive, see our Hammock Bikepacking: Is It Practical? guide.
Choosing Your Approach
Ultralight priority: Sea to Summit Spark bag + NeoAir XLite pad + bivy or tarp, no-cook or alcohol stove.
Comfort priority: Quality down bag + full-length insulated pad + ultralight tent + canister stove system.
Budget priority: ECOOPRO Down bag + foam or budget inflatable pad + budget tent + basic canister setup.
Wet climate: Synthetic sleeping bag + waterproof everything + full tent + reliable canister stove.
Your camp setup evolves with experience. Start with reliable basics, note what you wish you had or didn't need, and refine from there. The best camp gear is whatever lets you sleep well and wake ready to ride.
For specific product recommendations, explore our detailed guides:
Rest well. The trail continues tomorrow.


