Winter Bikepacking: Complete Cold Weather Guide
20+ years testing gear in Colorado backcountry
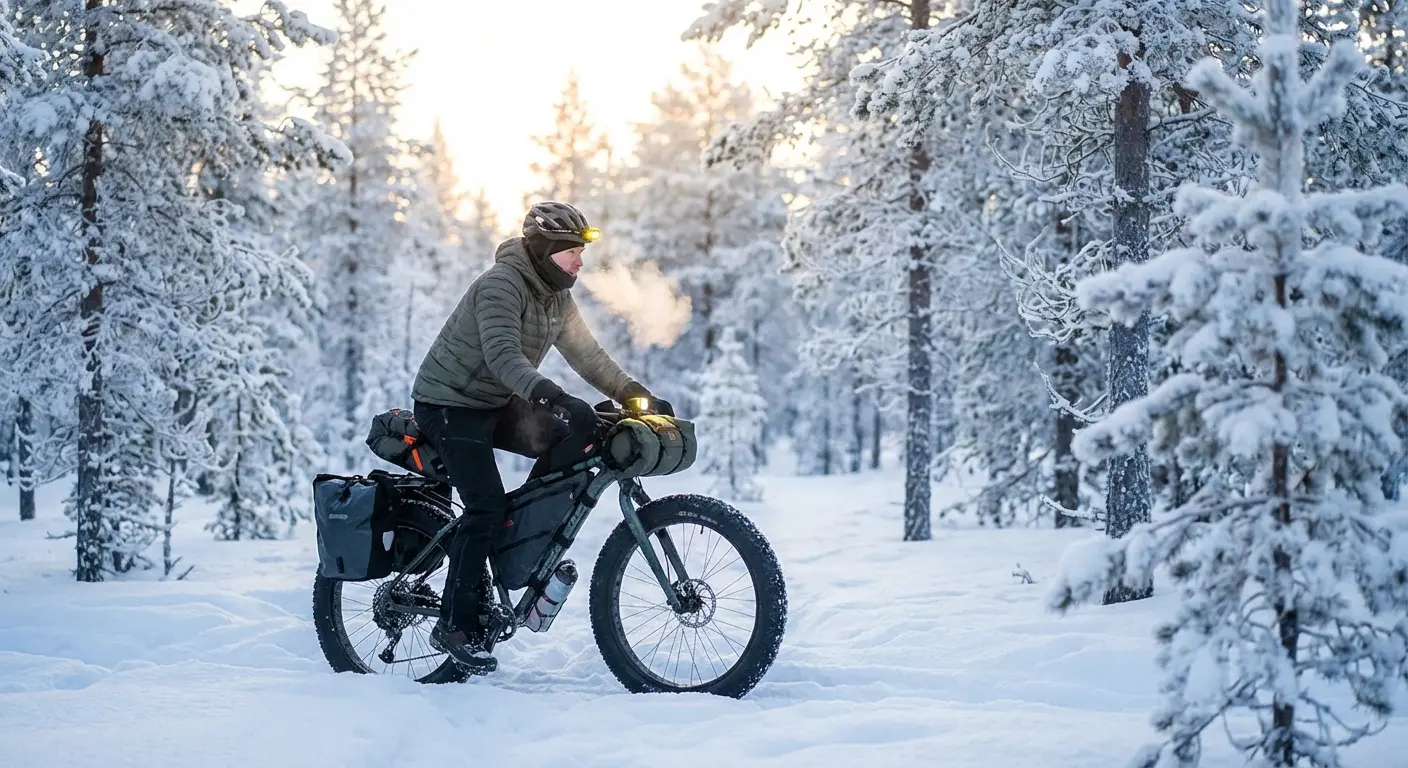
When Summer Ends, Adventure Continues
Winter bikepacking isn't for everyone. But for those who embrace it, frozen landscapes offer solitude, beauty, and challenges that summer crowds never experience.
Cold-weather bikepacking demands more preparation than warm-season riding. Stakes are higher—hypothermia and frostbite are real risks, not abstract concerns. But with proper gear and knowledge, winter opens routes and experiences impossible in other seasons.
This guide covers everything from gear selection to safety protocols for bikepacking when temperatures drop below freezing.
For warm-weather basics, see our Complete Bikepacking Gear Guide.
Is Winter Bikepacking Right for You?
Honest Assessment
Winter adds complexity and risk. Before committing, consider:
Physical demands increase significantly. Cold muscles work harder. Shorter daylight limits riding hours. Breaking trail through snow exhausts you faster than summer riding.
Gear costs multiply. Your three-season setup won't work. Expect significant investment in cold-rated sleep systems, insulating layers, and possibly a different bike.
Margin for error shrinks. A broken chain or flat tire in summer means an annoying delay. In winter, it can become survival-threatening without proper preparation.
Mental challenges intensify. Cold, dark mornings test motivation. Discomfort is constant. The payoff requires genuine appreciation for winter environments.
Who Thrives in Winter
Winter bikepacking suits riders who:
- Genuinely enjoy cold weather
- Accept slower pace and shorter days
- Have solid summer bikepacking experience
- Budget for appropriate gear
- Prioritize safety over adventure
If you're forcing yourself to try winter bikepacking for completion's sake, reconsider. The experience requires authentic enthusiasm for cold conditions.
Cold Weather Sleep Systems
Your summer sleep system won't work below freezing. Winter requires serious upgrades.
Sleeping Bags
Temperature ratings matter more in winter. The industry-standard EN/ISO ratings indicate survival temperature, not comfort. For winter camping:
- Comfort rating should match expected lows
- Add 15-20°F margin for safety
- Women and cold sleepers need more margin
0°F bags handle most three-season winter conditions in temperate climates. Expect lows in the teens to twenties with margin for colder snaps.
-20°F and below bags address deep winter, high altitude, or northern latitudes where temps routinely hit single digits or below.
Down vs. synthetic in winter:
- Down compresses smaller—critical when adding cold-weather bulk
- Synthetic handles moisture better—relevant when condensation builds
- Hydrophobic down offers compromise protection
- Either works with proper moisture management
See our Best Sleeping Bags for Bikepacking for specific recommendations.
Sleeping Pads
R-value becomes critical in winter. Ground temperatures often hover around freezing regardless of air temperature, but snow and frozen ground conduct heat aggressively.
| Conditions | Minimum R-Value |
|---|---|
| Above freezing | R-3 to R-4 |
| Around freezing | R-4 to R-5 |
| Below 20°F | R-5 to R-6 |
| Below 0°F | R-6+ or stacked pads |
Stacking pads combines an air pad (comfort) with closed-cell foam (insurance). The foam underneath adds R-value and provides backup if your air pad fails in cold conditions.
Cold air holds less moisture—punctures are more likely from brittle materials and frozen condensation crystals. Always carry repair patches in winter.
See our Best Sleeping Pads guide for options across R-value ranges.
Shelter Considerations
Four-season tents handle snow loads and high winds that collapse three-season designs. Look for:
- Steeper walls that shed snow
- More robust pole structures
- Full-coverage fly designs
- Vestibules for gear storage
Single-wall designs reduce condensation management challenges. Double-wall tents in winter often create frost on inner walls that drips when touched.
Tent site selection matters more. Avoid:
- Areas where snow accumulates (depressions, tree bases)
- Exposed ridges with wind exposure
- Avalanche-prone slopes
For shelter basics, see our Best One-Person Tents guide.
Layering Systems for Winter Riding
Base Layers
Merino wool excels in cold conditions—warm when wet, naturally odor-resistant, excellent warmth-to-weight. Synthetic alternatives dry faster but smell worse.
Weight matters: Medium-weight (200-250g/m²) bases work for most winter riding. Heavyweight bases restrict movement during active climbing.
Insulation Layers
Puffy jackets provide warmth during stops and camp time. Down offers best warmth-to-weight; synthetic performs better when damp.
Active insulation (like Polartec Alpha) breathes enough to wear while riding in cold conditions without overheating during climbs.
Fleece midlayers provide versatile warmth. Full-zip options allow temperature regulation without stopping.
Shell Layers
Wind protection matters more than waterproofing in winter. Cold wind strips heat faster than still air; a windproof layer transforms comfort.
Soft shells balance breathability with wind protection for active riding. Save hard shells for precipitation or extreme wind.
Extremities
Hands present the biggest challenge. Blood flow to fingers decreases when core temperature drops—hands get cold even when the body feels warm.
Layer approach for hands:
- Thin liner gloves for dexterity
- Insulated mid-gloves for warmth
- Shell overmitts for wind/precipitation
- Chemical warmers for emergencies
Pogies (bar mitts) allow lighter gloves while providing wind protection and quick brake/shift access. Many winter bikepackers consider them essential.
Feet need insulation beyond normal cycling shoes. Winter options:
- Insulated cycling boots
- Overboots/booties over regular shoes
- Flat pedals with insulated winter boots
- Vapor barrier liners to prevent sweat freezing
Head and face protection:
- Balaclava or neck gaiter covering face
- Helmet liner or warm cap
- Goggles for wind/snow protection
Bike Setup for Winter
Tire Considerations
Fat bikes (4-5" tires) provide the classic snow solution. They float on packed snow and handle mixed conditions that stall narrower tires.
Plus tires (2.8-3.0") handle light snow and frozen ground without full fat-bike bulk. A reasonable compromise for variable winter conditions.
Studded tires grip ice that defeats any tread pattern. Essential for routes with ice exposure; overkill for powder snow.
Lower pressure increases flotation on soft surfaces. Fat bikes run as low as 5-8 PSI in soft snow; regular bikes can drop 10-15 PSI below summer pressures.
Drivetrain Issues
Cold affects shifting. Lubricants thicken; cables stiffen; shifting becomes sluggish. Winter-specific cable housings and cold-rated lubricants help.
Snow and ice pack into mechanisms. Derailleurs ice up; freewheels pack with snow. Sealed systems (internal gears, belt drives) resist better than exposed drivetrains.
Simplify when possible. Single-speed setups eliminate shifting problems entirely. For geared bikes, carry spare cables and know field adjustment.
Brakes
Hydraulic brakes work fine in cold but require cold-rated fluid for extreme temperatures. DOT fluid handles cold better than mineral oil.
Disc brakes far outperform rim brakes in snow and ice. Wet rim braking on cold metal is dangerously unpredictable.
Brake rotors ice over. Light brake dragging before stops melts ice buildup. Allow extra stopping distance in all winter conditions.
Frame and Components
Steel is popular for winter due to repairability and durability. Aluminum works fine in cold—brittleness isn't a concern at rideable temperatures. Carbon requires more care around impacts on frozen surfaces.
Exposed cables freeze. Internal routing helps; cable housing designed for cold helps more.
Water bottles freeze. Insulated bottles delay freezing; carrying bottles inside frame bags near your body keeps them liquid longer.
Water and Food in Cold
Hydration Challenges
Tubes freeze before bottles. Hydration packs become useless when hose lines ice up. Either blow water back into the reservoir after drinking or switch to bottles.
Insulated bottles buy time but don't prevent eventual freezing. In serious cold, keep bottles in frame bags or jersey pockets where body heat helps.
Snow melting provides water in winter but requires fuel and time. Carry enough water between reliable sources; don't depend on finding liquid water.
Nutrition Demands
Calorie needs increase 25-50% in cold weather. Your body burns additional fuel maintaining temperature before you even start riding.
Bars freeze solid. Keep snacks in pockets near your body. Frozen Clif bars are edible but not pleasant.
Warm food matters more. A hot meal provides psychological and physical warmth that cold food can't match. Carry stove fuel for hot drinks and meals.
Eat before you're hungry. By the time you feel hungry in cold conditions, you're already depleted. Snack constantly.
Safety Considerations
Cold Injuries
Frostbite affects extremities first—fingers, toes, nose, ears. Signs: numbness, white/waxy skin, hard texture. Response: warm gradually (not hot water), seek medical attention.
Hypothermia develops when core temperature drops below 95°F. Signs: shivering, confusion, slurred speech, drowsiness. Response: get warm, remove wet clothing, provide warm drinks, seek medical attention for serious cases.
Prevention matters more than treatment. Stay dry, stay fed, recognize early warning signs, don't push into dangerous conditions.
Weather Awareness
Winter weather changes faster than summer conditions. Monitor forecasts obsessively; have bail-out plans for deteriorating conditions.
Wind chill transforms cold. A 20°F day feels like -5°F in 25 mph wind. Factor wind chill into all planning.
Short daylight limits riding time. December daylight in northern latitudes might be 9 hours. Plan camp arrival well before dark.
Emergency Preparation
Carry more than summer:
- Emergency bivy for unplanned stops
- Fire-starting materials
- Extra food beyond planned meals
- Communication device (satellite messenger in remote areas)
- First aid supplies for cold injuries
Tell someone detailed plans. Include route, expected campsites, and check-in protocols. Winter problems escalate faster than summer issues.
Where to Winter Bikepack
Good Winter Destinations
Desert Southwest offers pleasant winter riding when northern routes are snow-buried. Arizona Trail, Kokopelli Trail, and New Mexico routes stay rideable year-round.
Southern routes extend the season without extreme cold. Southern Appalachians, Texas Hill Country, and Florida trails work through winter.
Groomed fat bike trails provide reliable surfaces in snow country. CAMBA trails in Wisconsin, northern Michigan networks, and Alaska systems cater to winter riders.
Routes to Avoid
High altitude routes combine cold with thin air and short escape windows. Save alpine routes for summer.
Remote northern routes in deep winter require expedition-level preparation. Build experience before attempting multi-week winter trips in serious cold.
Avalanche terrain demands specific training. Steep slopes with snow accumulation present real danger even on bike routes.
Building Winter Experience
Progression Strategy
-
Start with day rides in cold conditions. Test layers, discover how your body responds to cold exertion.
-
Progress to overnight trips near home. Experience camp setup in cold, learn morning efficiency, test sleep systems.
-
Extend gradually. Multi-night trips close to civilization before remote winter routes.
-
Document what works. Winter systems are personal; what works for others might not work for you.
Common Mistakes
Overdressing while riding leads to sweating, which leads to wet clothes, which leads to hypothermia when you stop. Start cold; warm up through exertion.
Underdressing when stopped happens fast. The moment you stop riding, add layers. Don't wait until you're cold.
Insufficient food depletes reserves that maintain core temperature. Eat more than feels necessary.
Forcing progress in bad conditions creates dangerous situations. Winter demands willingness to wait out storms or turn back.
FAQ
What temperature is too cold for bikepacking?
No absolute limit exists—people bikepack in extreme cold worldwide. For most riders, single-digit temperatures require serious preparation; below zero requires expedition-level gear and experience.
Can I use my summer gear?
Partially. Bags, tools, and some clothing work year-round. Sleep systems, insulation layers, and bike setup need winter-specific upgrades.
Do I need a fat bike?
Depends on conditions. For groomed snow trails or packed surfaces, fat bikes excel. For frozen gravel or dry winter roads, regular bikes with appropriate tires work fine.
How much does winter gear cost?
Budget $500-1,500 for cold-weather sleep system upgrades, $200-400 for layering additions, and potentially $1,500+ for a fat bike if needed. Winter bikepacking is not the budget approach.
Is winter bikepacking safe?
With proper preparation, yes. Without proper gear and knowledge, it's genuinely dangerous. The difference between safe and unsafe winter trips is preparation.
Embrace the Cold
Winter bikepacking offers experiences summer riders never know—frozen waterfalls, empty trails, snow-covered landscapes, and the satisfaction of thriving in conditions most avoid.
The price is preparation. Winter doesn't forgive carelessness the way summer does. Respect the cold, gear up appropriately, build experience progressively, and winter becomes another season of adventure rather than a reason to stay inside.
For warm-weather preparation, see our Complete Gear Guide. For sleep system details, explore our Sleeping Bag and Sleeping Pad guides.
The frozen trails are waiting.


