Bikepacking Tents: Freestanding vs Non-Freestanding Comparison
20+ years testing gear in Colorado backcountry
The Shelter Decision That Shapes Your Setup
Your tent choice affects where you can camp, how quickly you set up, and how much space it takes in your bags. Freestanding and non-freestanding designs each solve the shelter problem differently.
Every bikepacker eventually faces this decision: freestanding or non-freestanding tent? The answer depends on your routes, priorities, and how you camp. Neither design is objectively better—they excel in different situations. For first-time trip planning, see our complete gear guide.
This guide breaks down both options so you can choose confidently.
For specific tent recommendations, see our Best One-Person Tents for Bikepacking guide.
What's the Difference?
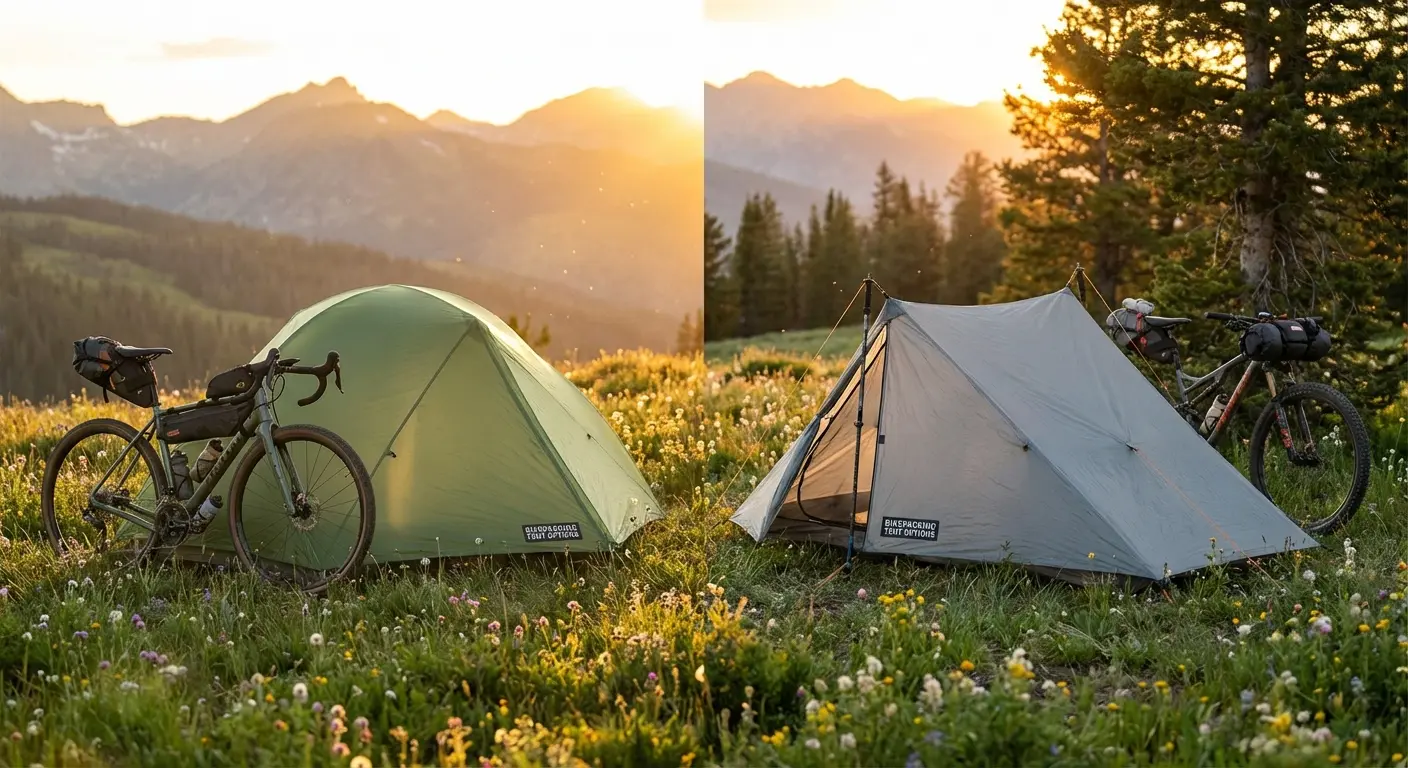
Freestanding Tents
Freestanding tents stand up on their own through crossing pole structures that create tension. You can pick up a fully pitched freestanding tent and move it without collapse.
How they work:
- Poles cross and thread through sleeves or clips
- The crossing creates structural rigidity
- Stakes optional for basic setup (required for storm security)
- Inner tent usually pitches first
Common designs:
- Hub-style with central crossing point
- X-pole configuration
- Dome shapes with interconnected arcs
Non-Freestanding Tents
Non-freestanding tents require stakes to stand. Their structure depends on tension from guylines anchored to the ground.
How they work:
- Single poles or trekking poles provide vertical support
- Guylines run to stakes create the structure
- Stakes are mandatory, not optional
- Often pitch fly-first or integrated single-wall
Common designs:
- A-frame (classic but rare now)
- Single-pole pyramid/mid style
- Trekking pole-supported designs
- Tunnel tents (multiple hoops requiring stakes)
Freestanding: Pros and Cons
Advantages
Pitch anywhere. Rock slabs, wooden platforms, frozen ground, packed sand—anywhere you can physically place a tent, freestanding designs work. No stakeable ground required.
Easy repositioning. Pitched in a bad spot? Pick it up and move it. No re-staking required for minor adjustments.
Intuitive setup. Most people find freestanding designs easier to pitch, especially in challenging conditions. The structure "wants" to stand up once poles are connected.
Better for beginners. Fewer variables mean fewer ways to pitch incorrectly. The learning curve is gentler.
Indoor practice works. You can practice setup anywhere—useful for learning new tents.
Disadvantages
Heavier. Crossing pole structures require more pole material. Freestanding designs typically weigh 4-12 oz more than comparable non-freestanding options.
More pole segments. More poles mean more packed length or more segments with shock cord. Both affect packed shape.
Less aerodynamic. Dome shapes catch wind more than streamlined tunnel designs. In serious wind, freestanding tents work harder.
Still need stakes for security. "Freestanding" doesn't mean "no stakes." In any wind, you'll stake it down anyway. The term just means stakes aren't structurally required.
Non-Freestanding: Pros and Cons
Advantages
Lighter weight. Simpler pole structures mean less material. Weight-conscious bikepackers often favor non-freestanding designs.
Better packed shape. Single poles or trekking pole setups pack longer and thinner—often better for handlebar bags or strapping to frames.
More space-efficient interiors. Tapered designs with tension-based structure often provide better floor-to-weight ratios.
Wind performance. Low-profile, aerodynamic shapes (tunnels, mids) handle high winds better than dome shapes when properly staked.
Trekking pole integration. Some designs use your existing trekking poles, eliminating dedicated tent poles entirely.
Disadvantages
Requires stakeable ground. Hardpack, rock, ice, and very soft sand won't hold stakes. Your shelter depends on finding appropriate ground.
Learning curve. Proper tensioning and stake placement take practice. First-time setups often sag or flap.
Stake failure cascades. Pull one stake in wind and the whole structure can fail. Freestanding tents degrade more gracefully.
Can't move once pitched. Realized you're on a slope or rock? You're pulling stakes and re-pitching.
More site preparation. You may need to clear debris, test stake-holding capacity, and plan guyline placement.
Side-by-Side Comparison
| Factor | Freestanding | Non-Freestanding |
|---|---|---|
| Weight | Heavier (typically 2-4 lbs solo) | Lighter (often 1.5-2.5 lbs solo) |
| Setup Ease | Easier, more intuitive | Requires practice and good technique |
| Site Requirements | Nearly any surface | Must accept stakes |
| Storm Security | Good with stakes | Excellent when properly staked |
| Wind Performance | Adequate | Often superior |
| Pack Shape | Bulkier/rounder | Longer/thinner |
| Interior Space | Good | Variable (often better ratio) |
| Cost | Similar | Similar |
Which Is Better for Bikepacking?
Non-Freestanding Often Wins for Bikepackers
Weight matters on bikes. Every ounce you carry, you pedal uphill. The 4-8 oz savings of non-freestanding designs compounds over long days.
Packed shape fits bikepacking bags. Long, thin tent poles slide into handlebar rolls better than hub-style freestanding pole sets.
Most bikepacking camp spots stake well. Gravel roads, forest floors, and alpine meadows all accept stakes. Truly unstakeable surfaces are rare on common routes.
But Freestanding Has Its Place
Desert camping on hardpack. Some desert routes involve camping on surfaces that won't hold stakes. Freestanding provides options.
Platform camping. Some routes use wooden platforms or established sites that may have compacted or unsuitable ground.
Speed and simplicity. After long, exhausting days, the simplicity of freestanding setup has genuine value.
Beginners benefit from simplicity. Learning bikepacking involves many new skills. Removing tent-pitching complexity frees mental bandwidth for other learning.
Popular Bikepacking Tents by Type
Freestanding Options
Big Agnes Copper Spur HV UL1 (~$480, 2 lbs 3 oz)
- Classic ultralight freestanding design
- Excellent packed size for bikepacking
- Two doors for ventilation
- Strong storm performance for its weight
Nemo Hornet Elite 1P (~$450, 1 lb 14 oz)
- One of the lightest freestanding options
- Semi-freestanding design (front needs stakes)
- Quality materials and construction
Naturehike Cloud-Up 1 (~$120, 2 lbs 10 oz)
- Budget-friendly entry point
- Heavier but affordable
- Good introduction to freestanding camping
Non-Freestanding Options
Tarptent ProTrail Li (~$500, 1 lb)
- Trekking pole supported
- Exceptional weight
- Single-wall simplicity
Six Moon Designs Lunar Solo (~$230, 1 lb 10 oz)
- Trekking pole design
- Generous interior for weight
- Proven bikepacking performer
Gossamer Gear The One (~$255, 1 lb 2 oz)
- Single trekking pole design
- Excellent ventilation
- Ultralight without ultralight price
Hybrid Options
Some tents offer both modes—optional poles that allow freestanding setup, but lighter trekking-pole mode for weight-conscious use.
Durston X-Mid 1 (~$235, 1 lb 9 oz)
- Trekking pole primary design
- Optional freestanding poles available
- Excellent value and performance
For detailed comparisons, see our Best One-Person Tents guide.
Decision Framework
Choose Freestanding If:
- You frequently camp on rock, platforms, or hardpack surfaces
- You value setup simplicity over minimum weight
- You're new to bikepacking and want to minimize variables
- Your routes include surfaces that don't hold stakes
- You prefer the security of structure that doesn't depend on stakes
Choose Non-Freestanding If:
- Weight is a primary concern
- Your routes feature stake-friendly ground (most do)
- You're comfortable with slightly more setup technique
- Packed shape matters (handlebar bag packing)
- You already carry trekking poles and want to reduce redundancy
Consider Hybrid If:
- You want both options depending on trip
- You're unsure which style you'll prefer
- Your routes vary significantly in camping surfaces
- You don't mind carrying optional poles occasionally
Setup Tips by Type
Freestanding Setup
- Find reasonably flat ground (slight slope acceptable)
- Clear rocks and debris from footprint area
- Lay out tent body, orient door appropriately
- Connect and thread poles
- Clip or attach inner to poles
- Attach fly
- Stake corners and guylines for security
Common mistakes:
- Not staking in wind (tent becomes kite)
- Poor door orientation (wind or privacy issues)
- Poles not fully inserted in grommets
Non-Freestanding Setup
- Scout ground for stake-holding capacity
- Plan guyline arrangement before starting
- Place footprint stake first (defines position)
- Stake out tent perimeter maintaining symmetry
- Insert poles and tension
- Adjust stakes for proper tension
- Add guylines for wind security
Common mistakes:
- Asymmetric staking (saggy, floppy result)
- Insufficient tension (poor water shedding)
- Stakes in loose soil without adequate depth
- Ignoring wind direction
Stake Considerations
Both tent types need stakes, but importance differs.
For Freestanding Tents
Stakes provide security, not structure. Lighter stakes work fine for most conditions. Bring:
- 4-6 stakes for corners and guylines
- Lightweight aluminum works
- Consider ultralight options since stakes aren't critical
For Non-Freestanding Tents
Stakes ARE the structure. Never skimp. Bring:
- 6-10 stakes depending on design
- Robust stakes that hold in various soils
- Consider multiple types (standard + sand/snow)
- Spare stakes as backup
Stake variety for versatility:
- Standard Y-stakes for typical soil
- Longer stakes for soft ground
- Sand stakes or deadman anchors for beaches
- Rock sacks (stuff sack with rocks) as emergency anchors
FAQ
Can I convert a freestanding tent to trekking pole setup?
Sometimes. Some freestanding tents can pitch fly-first with trekking poles in creative configurations, but this isn't how they're designed. Purpose-built non-freestanding designs perform better.
What if I can't stake on my planned campsite?
Options: move to stakeable ground (usually possible), use rocks as anchors, or carry a freestanding tent for routes where this is common.
Which is warmer?
Both are equally warm—insulation comes from your sleep system, not tent structure. Ventilation and condensation management matter more than freestanding status. Pair either tent type with a quality sleeping pad for warmth.
Which handles rain better?
Properly staked, both handle rain equally well. Tension matters more than structure type. Saggy non-freestanding setups pool water; taut pitches shed it.
Should beginners always start freestanding?
Not necessarily. Non-freestanding designs aren't difficult—they just require attention to technique. If weight matters to you, learn proper staking from the start.
Make Your Choice
Both freestanding and non-freestanding designs shelter bikepackers successfully on routes worldwide. The "best" choice depends on your priorities, routes, and preferences.
For weight-focused riders on typical routes, non-freestanding designs offer compelling advantages. For simplicity-focused riders or those camping on challenging surfaces, freestanding provides peace of mind.
Either way, the shelter in your bags works better than the perfect shelter in your imagination. Pick one that fits your needs, practice setting it up, and start riding.
For complete shelter options including bivies and tarps, see our Best One-Person Tents, Bivy Guide, and Hammock Guide.
The trails don't care what tent you bring. They just wait.


