Pre-Trip Bike Inspection Checklist: Prepare Your Bike for Bikepacking
20+ years testing gear in Colorado backcountry
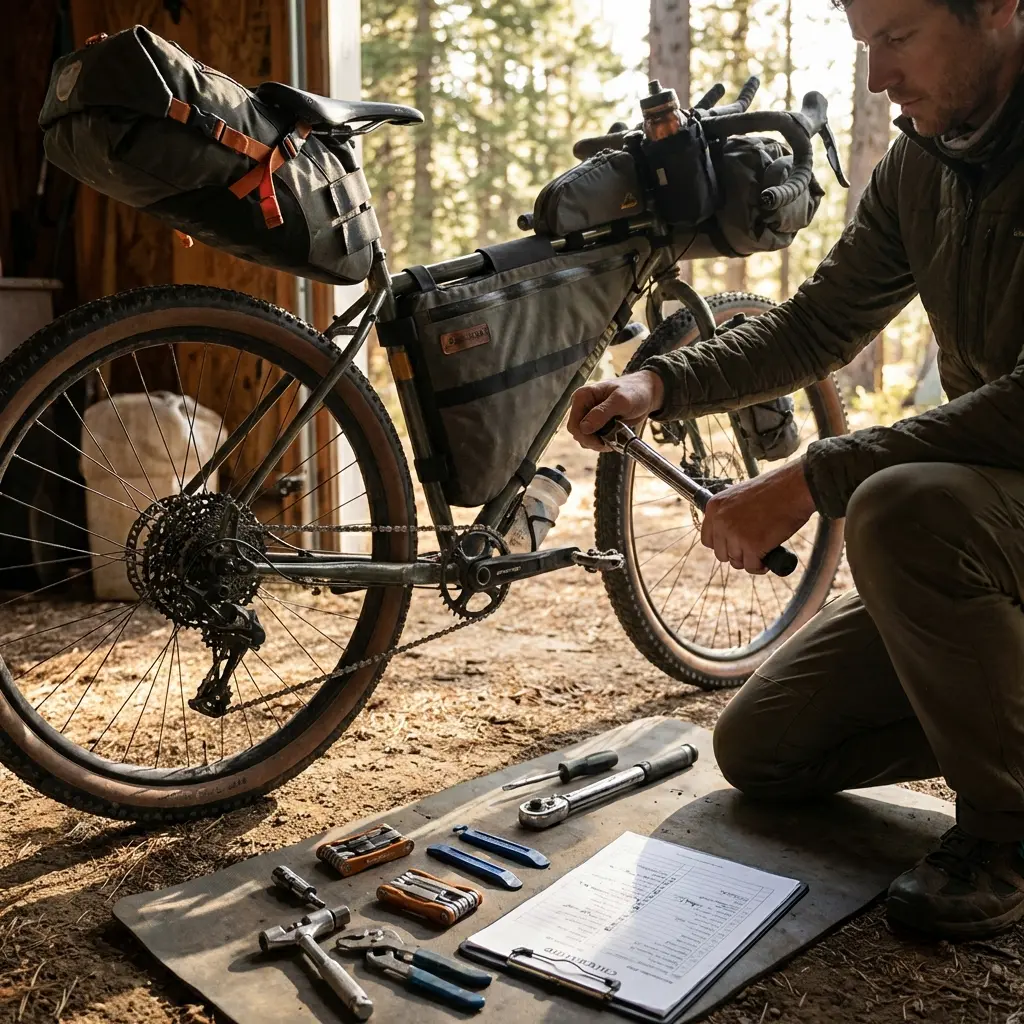
Prevention Is Better Than Repair
Every problem you catch in your garage is a problem you don't have to solve fifty miles from help. A thorough pre-trip inspection is the foundation of reliable bikepacking.
The best trail repair is one you never have to make. Fifteen minutes of careful inspection before you leave catches worn brake pads, loose bolts, fraying cables, and other issues that become real problems on remote routes.
This guide provides a systematic inspection process—from the quick pre-ride check to the comprehensive pre-trip walkthrough. Use it before every multi-day ride, and your bike will be ready for whatever the trail brings.
For specific maintenance procedures, see our Complete Bikepacking Maintenance Guide.
The ABC Quick Check
Before every ride—whether around the block or across the continent—run through the ABC Quick Check. Takes 30 seconds, prevents common problems.
A - Air
Check:
- Tires inflated to appropriate pressure
- No visible damage, cuts, or embedded debris
- Valve stems straight and secure
- Tubeless sealant sloshing (if applicable)
Action:
- Inflate to desired pressure
- Remove any embedded debris
- Note tires that need replacement
B - Brakes
Check:
- Levers don't touch handlebars before engagement
- Pads have adequate material (>1mm)
- Rotors/rims aren't warped (spin wheel, watch pad gap)
- Quick release/thru axles tight
Action:
- Adjust cable tension or pad position if needed
- Schedule pad replacement if marginal
- Tighten any loose quick releases
C - Chain and Cranks
Check:
- Chain clean and lubricated
- No stiff links or visible damage
- Crank bolts tight
- Chainring teeth not visibly worn
Action:
- Clean and lube if needed
- Tighten crank bolts
- Note any wear for later attention
Full Pre-Trip Inspection
Before multi-day trips, go deeper. This checklist catches issues that develop gradually.
Wheels and Tires
| Item | Check | Action If Problem |
|---|---|---|
| Tire pressure | Appropriate for terrain | Inflate to target PSI |
| Tire condition | No cuts, cracks, worn tread | Replace if damaged or worn |
| Tire sidewalls | No bulges or damage | Replace if bulging |
| Tubeless sealant | Adequate level (tubeless guide) | Top up or refresh |
| Spoke tension | Even (pluck test) | Adjust or true |
| Wheel true | No lateral wobble (truing guide) | True if necessary |
| Hub play | No lateral movement | Adjust bearings |
| Quick release/thru axle | Properly secured | Tighten |
| Valve stems | Straight, secure | Tighten or replace |
Brakes
| Item | Check | Action If Problem |
|---|---|---|
| Pad thickness | >1mm material remaining (brake guide) | Replace if thin |
| Pad condition | No contamination, even wear | Clean or replace |
| Rotor condition | No warping, adequate thickness | True or replace |
| Rotor bolts | Torqued (T25 usually) | Tighten to spec |
| Lever feel | Engages before touching bar | Adjust tension or bleed |
| Lever pivot | Smooth, not sticky | Lubricate if stiff |
| Cable/hose | No fraying, kinks, leaks | Replace if damaged |
Drivetrain
| Item | Check | Action If Problem |
|---|---|---|
| Chain wear | Under 0.5% elongation (how to check) | Replace if worn |
| Chain lubrication | Clean and lubed | Clean and relube |
| Chain links | No stiff links | Flex or replace stiff links |
| Cassette condition | No shark-finned teeth | Replace if worn |
| Chainring condition | No hooked teeth | Replace if worn |
| Chainring bolts | Tight | Torque to spec |
| Derailleur cables | No fraying (inspection guide) | Replace if frayed |
| Derailleur limit screws | Properly set | Adjust if needed |
| Derailleur hanger | Straight (adjustment guide) | Realign or replace |
| Shift quality | Clean shifts through range | Adjust cable tension |
Cockpit
| Item | Check | Action If Problem |
|---|---|---|
| Stem bolts | Torqued to spec | Tighten to spec |
| Handlebar bolts | Torqued to spec | Tighten to spec |
| Headset play | No clicking or looseness (bearing guide) | Adjust |
| Headset smooth | No notchy feeling | Service if rough |
| Bar tape/grips | Secure, not worn through | Replace if needed |
| Computer mount | Secure | Tighten |
| Light mounts | Secure | Tighten |
Frame and Components
| Item | Check | Action If Problem |
|---|---|---|
| Frame | No cracks, damage | Professional inspection if concern |
| Fork | No damage, steering smooth | Professional inspection if concern |
| Seatpost | Secure, at marked height | Tighten bolt |
| Saddle | Secure, level | Adjust and tighten |
| Bottom bracket | No play or grinding (bearing guide) | Service or replace |
| Pedals | Spin freely, secure | Tighten or service |
| Water bottle cages | Secure | Tighten bolts |
Bags and Accessories
| Item | Check | Action If Problem |
|---|---|---|
| Frame bag | Secure attachment, no rubbing | Adjust straps |
| Handlebar bag | Secure, not interfering with cables | Reposition if needed |
| Seat bag | Secure, not swaying | Tighten stabilizers |
| Fork bags | Secure, not touching wheel | Adjust position |
| Rack bolts | Tight | Torque to spec |
| Fender bolts | Tight | Torque |
| Lights | Working, charged | Charge and test |
| Computer | Working, sensors paired | Test and charge |
Torque Specifications
Proper torque prevents both loosening (too little) and damage (too much).
Common Torque Values
| Component | Typical Torque | Notes |
|---|---|---|
| Stem faceplate bolts | 4-6 Nm | Alternate pattern |
| Stem clamp bolts | 5-7 Nm | Check manufacturer |
| Seatpost clamp | 5-7 Nm | Less for carbon posts |
| Seat rail bolts | 12-16 Nm | Check saddle spec |
| Crank bolts | 12-14 Nm | Self-extracting style |
| Chainring bolts | 9-11 Nm | Check manufacturer |
| Disc rotor bolts | 4-6 Nm | T25 usually |
| Brake caliper bolts | 6-8 Nm | Check manufacturer |
| Pedals | 30-35 Nm | Apply grease to threads |
| Thru axles | 12-15 Nm | Check frame spec |
Without a Torque Wrench
If you don't have a torque wrench:
- Stem bolts: Firm but not straining
- Seatpost: Can't twist saddle by hand, not cranked tight
- Disc rotors: Snug, not stripping
Get a torque wrench for regular use—especially with carbon components.
The 5-Minute Test Ride
After inspection, take a short test ride:
- Shift through all gears - Front and rear, under light load
- Test both brakes - Separately and together, moderate stop
- Check for unusual sounds - Clicks, grinding, rubbing
- Feel for play - Headset, wheels, bottom bracket
- Verify bag security - No shifting, swaying, or rubbing
Any issues discovered in the test ride are easier to address at home than on trail.
Featured Products
Park Tool TW-5.2 Torque Wrench
The TW-5.2 covers the range you need for most bike bolts: 2-14 Nm with fine resolution. The click-type ratcheting design provides clear feedback when you reach target torque—you feel and hear the click. Requires periodic calibration like all click-type wrenches (annually or per manufacturer specs). Essential for carbon components and any fastener with a torque spec. We've used the same TW-5.2 for years. Worth every penny for the confidence of proper torque.
- 2-14 Nm range covers most needs
- Click-type ratcheting design
- Clear tactile feedback
- Essential for carbon parts
- Decades of reliability
Loctite Blue 242 Threadlocker
For bolts that keep loosening despite proper torque, medium-strength threadlocker prevents vibration-induced loosening while still allowing removal with hand tools. Apply a drop to clean threads before assembly. Essential for rack bolts, bottle cage bolts, and any fastener in high-vibration areas. Blue 242 is removable; don't use red (permanent) on bike bolts. Small bottle lasts years.
- Prevents vibration loosening
- Removable with hand tools
- Medium strength formula
- Apply to clean threads
- Small bottle lasts years
Park Tool CC-3.2 Chain Checker
Part of every pre-trip inspection should include chain wear check. The CC-3.2 drops into your chain and immediately shows whether you're at 0.5% or 0.75% wear. Replace at 0.5% to protect your cassette and chainring from accelerated wear. Takes three seconds, saves hundreds in drivetrain components. At 35 grams, you can even carry it on extended trips to monitor wear over thousands of miles.
- 0.5% and 0.75% indicators
- 3-second wear check
- 35g—carry it with you
- Saves drivetrain components
- Industry standard accuracy
Feedback Sports Pro-Elite Repair Stand
A quality repair stand makes inspection and maintenance dramatically easier. The Pro-Elite holds your bike at working height, rotates for access to all components, and folds for storage. Clamp mechanism is gentle enough for carbon and secure enough for heavy bikes. Home mechanics who service their own bikes consider a stand essential—you'll wonder how you worked without one.
- Holds bike at working height
- Rotates for full access
- Safe for carbon frames
- Folds for storage
- Professional quality
Park Tool PRS-7 Home Mechanic Stand
For home mechanics who want stand convenience without professional-shop price, the PRS-7 delivers. The micro-adjust clamp holds bikes securely, and the adjustable height makes working comfortable. Less refined than the Pro-Elite but perfectly functional for pre-trip inspections and regular maintenance. Folds down for storage when not in use.
- Micro-adjust clamp
- Height adjustable
- Folds for storage
- Budget-friendly
- Good for home use
Printable Checklist
Use this condensed checklist before each multi-day trip:
Quick Visual (2 minutes)
- Tires: pressure, condition, no embedded debris
- Brakes: pad thickness, lever feel
- Chain: clean, lubed, no stiff links
- Bolts: stem, seatpost, handlebars tight
- Bags: secure, not rubbing
Detailed Check (10 minutes)
- Wheels: spoke tension, true, hubs smooth
- Drivetrain: chain wear, cassette/chainring condition
- Brakes: rotors true, pads aligned
- Cockpit: headset play, bar tape condition
- Cables: no fraying at anchor points
- Bottom bracket: no play or grinding
- Accessories: lights work, computer paired
Test Ride (3 minutes)
- Shift through all gears
- Brake test (both brakes)
- Listen for unusual sounds
- Check bag stability
Final Prep
- Repair kit complete
- Tools functional
- Spare parts appropriate for trip
FAQ
How often should I do the full inspection?
Full inspection before any multi-day trip. ABC Quick Check before every ride. Monthly detailed inspection during regular riding seasons.
What if I find something wrong right before a trip?
Address critical issues (brakes, wheel security, critical bolts). Minor issues (slight chain wear, marginal pads) can often wait—carry spares if concerned. Severe issues may require delaying departure.
Do I really need a torque wrench?
For carbon components, yes—overtightening causes damage you can't see until failure. For aluminum components, a torque wrench provides consistency and prevents both too-loose and too-tight. Worth the investment for any regular rider.
What's the most commonly missed item?
Tubeless sealant level. It dries out silently, and many riders don't check until they have a flat that won't seal.
Should I inspect a brand new bike?
Especially a brand new bike. Factory assembly varies, and shipping can loosen bolts. Do a complete check before first ride.
Related Guides
- Complete Bikepacking Maintenance Guide - Full maintenance procedures
- Building Your Tool Kit - What to carry
- Emergency Gear Guide - Emergency preparedness
- Chain Maintenance Guide - Detailed chain care
The best mechanics catch problems before they happen. A thorough pre-trip inspection takes fifteen minutes and provides peace of mind for thousands of miles.
Check everything. Fix what needs fixing. Trust your bike.
The trail awaits.


