What Bikepackers Use to Patch Their Tires
20+ years testing gear in Colorado backcountry
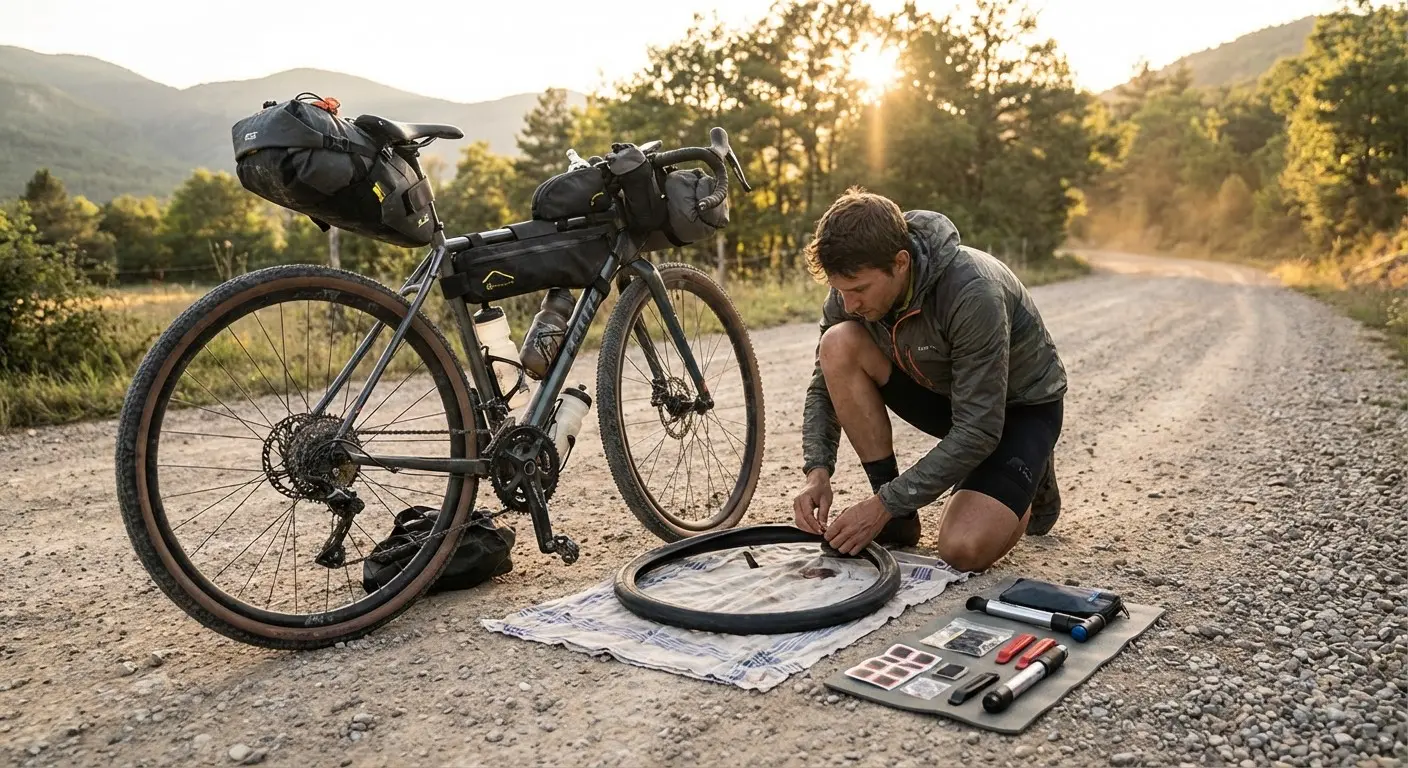
Flats Are Inevitable—Be Prepared
No matter how careful your tire selection or how thorough your pre-ride inspection, punctures happen. Thorns, glass, sharp rocks, and manufacturing defects don't care about your schedule.
The difference between a minor inconvenience and a trip-ending disaster is preparation. A quality patch kit weighs almost nothing, costs a few dollars, and can repair multiple flats. There's no excuse not to carry one.
Whether you run tubes or tubeless, here's what experienced bikepackers pack for tire emergencies.
For complete repair kit guidance, see our Multi-Tool Guide and Pumps: Mini vs CO2.
Tube vs. Tubeless: Different Problems, Different Solutions
Tubed tires require patches that seal the inner tube. Traditional vulcanizing patches bond chemically with the rubber; glueless patches use adhesive. Both work, but vulcanizing patches create more permanent repairs.
Tubeless tires use sealant that fixes most small punctures automatically. Larger holes require tire plugs—rubber strips pushed directly into the puncture. Some punctures are too large for plugs and require internal patches or tube insertion.
Most bikepackers running tubeless still carry a spare tube as emergency backup when plugs and patches fail.
What to Carry: The Essentials
For tubed setups:
- Spare tube (properly sized)
- Patch kit (vulcanizing or glueless)
- Tire levers (2-3 preferred)
- Pump or CO2 inflator
For tubeless setups:
- Tire plugs (bacon strips) and insertion tool
- Spare tube (for emergencies)
- Valve core remover
- Extra sealant (small bottle or cartridge)
- Pump or CO2 inflator
- Tire boot (for sidewall damage)
Featured Products
Park Tool VP-1 Vulcanizing Patch Kit
The VP-1 remains the gold standard for permanent tube repairs. Six thin, flexible patches with tapered edges bond chemically to your tube via the included vulcanizing fluid—creating repairs that last as long as the tube itself. The kit includes sandpaper for proper surface prep, and clear instructions guide you through the process. At a few ounces and a few dollars, there's no reason not to carry one. For bikepackers who want repairs that hold indefinitely rather than just getting home, vulcanizing patches are worth the extra minute of cure time.
- Permanent vulcanized bond
- Six patches with tapered edges
- Includes vulcanizing fluid
- Sandpaper for surface prep
- Industry-standard reliability
Lezyne Smart Patch Kit
When speed matters more than permanence, glueless patches get you rolling fast. The Lezyne Smart Kit packs six self-adhesive patches, a tire boot for sidewall emergencies, and a stainless steel scuffer into a slim plastic sleeve that disappears in your pocket. No waiting for glue to cure—scuff, peel, stick, and go. These patches work well for roadside repairs, though they're best considered temporary fixes. Many bikepackers carry glueless for quick repairs and vulcanizing patches for permanent fixes at camp.
- 6 glueless patches—no cure time
- Includes tire boot for sidewalls
- Stainless steel scuffer
- Super compact carry
- Quick roadside repairs
Dynaplug Racer
For tubeless riders, the Dynaplug Racer is the fastest puncture solution available. The double-ended tool holds two preloaded insertion tubes—a standard soft-nose plug for typical punctures and a MegaPlug for larger damage. Just align, push, pull out, and ride. No need to remove sealant-covered tires; no wrestling with glue. The brass insertion tip slides smoothly without tearing the rubber. At just 14 grams, there's no weight penalty for carrying it. Made in USA with a lifetime warranty. This is what serious tubeless bikepackers reach for first.
- Fastest tubeless repair method
- Pre-loaded with 2 plugs
- Standard and MegaPlug options
- Made in USA, lifetime warranty
- Works through sealant
Park Tool Super Patch Kit (GP-2)
Park Tool's glueless Super Patches offer reliable repairs at the lowest price point. Six thin, flexible patches come in a compact plastic case with a sandpaper square for surface prep. These are the patches that have lived in countless saddlebags for decades. The adhesive works immediately—scuff, apply, press, inflate. Not as permanent as vulcanizing patches, and they can fail at higher pressures, but for getting home or to the next bike shop, they've saved millions of rides. At under $5, you can stash one in every bag you own.
- Ultra-affordable
- 6 glueless patches
- Compact case with sandpaper
- Immediate application
- Park Tool reliability
How to Patch a Tube Properly
Vulcanizing (glue) patches:
- Remove tube and locate puncture (inflate and listen/feel, or submerge in water)
- Scuff the area with sandpaper—larger than the patch size
- Apply thin layer of vulcanizing fluid to scuffed area
- Wait until fluid becomes tacky (usually 1-2 minutes)
- Apply patch, press firmly from center outward
- Wait recommended cure time before inflating
- Check repair by inflating before reinstalling
Glueless patches:
- Locate and mark puncture
- Scuff area thoroughly with sandpaper
- Peel backing and apply patch immediately
- Press firmly for 30+ seconds
- Inflate and check before reinstalling
Tubeless plugs:
- Leave tire on rim—no need to unseat
- Locate puncture (usually visible with sealant bubbling)
- Insert plug tool through hole, push until plug is flush
- Remove tool, leaving plug behind
- Spin wheel to let sealant coat plug
- Inflate and ride
Test Your Patches at Home First
Don't discover your patch kit doesn't work when you're stranded. Practice now:
- Take an old tube (or intentionally puncture a cheap one)
- Practice locating the hole. Submerge in water—bubbles pinpoint the leak
- Apply a vulcanizing patch properly. Time the cure. See if it holds pressure overnight.
- Apply a glueless patch. Note how different it feels and how quickly it's ready.
- Try a tubeless plug on an old tire if you run tubeless. Learn the insertion feel.
What you'll learn:
- How long vulcanizing glue really needs to cure (most people rush it)
- Whether your glueless patches actually stick to your tube rubber
- How much force the plug insertion requires
Most patching failures happen because people never practiced. Ten minutes at home builds confidence that lasts for years.
When Patches Won't Work
Some damage exceeds what patches can handle:
- Large sidewall cuts require a tire boot (dollar bill, energy gel wrapper, or actual boot) plus tube insertion
- Bead damage from running too low pressure may never seal properly
- Massive punctures (larger than a pencil) may need professional repair or tire replacement
- Damaged valve stems require tube replacement
For these situations, a spare tube is your backup. Even tubeless riders should carry one. For a complete packing list including repair essentials, see our bikepacking packing checklist.
FAQ
Glueless vs. vulcanizing—which is better?
Vulcanizing patches create permanent chemical bonds that last indefinitely. Glueless patches work faster but may fail over time, especially at higher pressures. For bikepacking, carry both: glueless for quick trailside fixes, vulcanizing for permanent repairs at camp.
How many patches should I carry?
At minimum, enough to repair two flats. For multi-day trips, carry 6+ patches. Weight is negligible; running out of patches mid-trip is not.
Do tubeless riders really need patch kits?
Yes. Plugs handle most punctures, but large holes, bead damage, or repeated punctures may require inserting a tube. Carry both plugs and a backup tube for full coverage.
Will patches work on high-pressure road tires?
Vulcanizing patches work at any pressure when applied correctly. Glueless patches may struggle above 80-100 PSI—consider vulcanizing patches for road bikes.
How long do patches last?
Properly applied vulcanizing patches last as long as the tube—often years. Glueless patches vary; some last months, others develop slow leaks within weeks. Monitor patched tubes closely.
For complete emergency preparedness, see our Emergency Gear Every Bikepacker Needs guide. For tubeless-specific repairs including sealant management, see our Tubeless Tire Maintenance and Complete Bikepacking Maintenance Guide. Store your patch kit in a frame bag for easy trailside access.


