Bikepacking Pumps: Mini Pumps vs CO2 Inflators
20+ years testing gear in Colorado backcountry
Keeping Tires Inflated
Flat tires happen. When they do, you need air—and your choices are limited to what you carried with you. On bikepacking trips, that means either a mini pump or CO2 cartridges, each with distinct advantages and trade-offs. As REI's bike repair experts explain, understanding your inflation options is essential for any self-supported ride.
This decision matters more than it might seem. The wrong choice can leave you walking, while the right setup gets you rolling again in minutes. Understanding how each option works—and fails—helps you choose wisely.
For complete repair kit guidance, see our Multi-Tool Guide and Patch Kit Guide.
Mini Pumps: The Reliable Choice
How Mini Pumps Work
Mini pumps are miniaturized versions of floor pumps. You connect to the valve, pump by hand, and air enters the tire. Simple, mechanical, and requiring no consumables.
Mini Pump Advantages
Unlimited inflation capacity: Pump as many flats as you encounter. No cartridges to run out.
Works in any conditions: Cold, heat, altitude—pumping works regardless.
No special technique required: Anyone can figure it out.
Long-term reliability: Quality pumps last years with minimal maintenance.
Multi-tire flexibility: Same pump works for fat tires, road tires, and everything between.
Mini Pump Disadvantages
Physical effort: Pumping to full pressure takes work. Tired arms after a long day make it harder.
What Pumping Really Feels Like
Here's the reality test: inflate a flat tire completely with your mini pump, timing yourself:
For a 700x40c gravel tire (target 40 PSI):
- A good floor-style mini pump: 2-3 minutes, moderate effort
- A small hand pump: 4-6 minutes, noticeable arm fatigue
For a 700x28c road tire (target 80 PSI):
- A good floor-style mini pump: 4-5 minutes, serious effort near the end
- A small hand pump: 8-10 minutes, painful arms, questionable whether you reach target
Now imagine doing this after 60 miles of riding.
This is why pump quality matters. The difference between a $15 pump and a $40 pump is how you feel during the inflation you'll inevitably need.
Time: Several minutes to inflate, especially to high road pressures.
Larger/heavier: Most mini pumps weigh 100-200 grams, larger than CO2 systems.
Lower pressure achievement: Some mini pumps struggle to reach high road pressures (80+ psi).
Best Mini Pump Types for Bikepacking
High-volume (HV): Move more air per stroke, reach lower pressures faster. Best for mountain bike and gravel tires.
High-pressure (HP): Designed for road pressures. Slower filling but reach higher PSI.
Dual-action: Pump on both push and pull strokes. Faster than single-action.
Frame pumps: Larger pumps that mount along frame tubes. More effective than pocket-sized, but take more space.
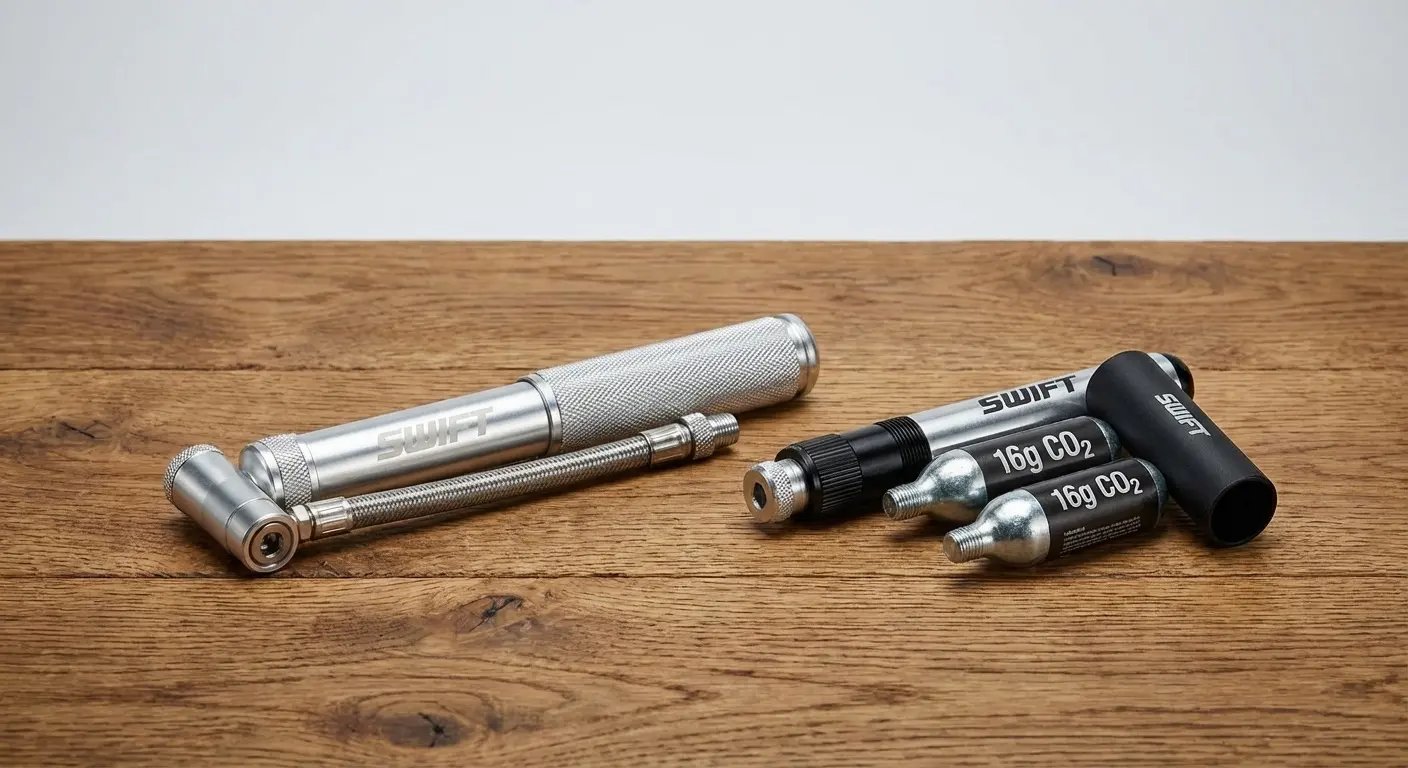
CO2 Inflators: The Fast Choice
How CO2 Works
Compressed carbon dioxide stored in small cartridges releases rapidly when triggered, inflating tires in seconds. One cartridge typically fills one tire.
CO2 Advantages
Speed: Tire inflated in 10-15 seconds. Back riding almost immediately.
Compact: Inflator head weighs grams. Total system smaller than most mini pumps.
Effortless: No pumping, no fatigue.
Consistent: Works same whether you're fresh or exhausted.
CO2 Disadvantages
Consumable: Each cartridge works once. Carry enough for expected flats plus margin.
Limited supply: Run out of cartridges, run out of inflation capability.
Technique required: Poor technique wastes cartridges or under-inflates.
Temperature sensitivity: CO2 makes tires cold during inflation; pressure drops as they warm.
Environmental consideration: Single-use cartridges create waste.
Air leakage: CO2 leaks through tire rubber faster than regular air; may need to top up with pump at home.
Cartridge Sizing
12g cartridges: Good for one road tire or partial mountain tire inflation. Compact.
16g cartridges: Standard for most uses. Fills most tires adequately.
25g cartridges: Larger capacity for fat tires or multiple inflations. Heavier.
Most bikepackers carry 16g cartridges—the best balance of capability and weight.
Featured Products
Topeak Mini Morph
The Mini Morph brings floor pump functionality to a portable format. The fold-out foot pad lets you brace the pump while stroking, dramatically improving efficiency over pure hand pumps. The flexible hose connects at any valve angle without stressing the stem. At 154 grams, it's not ultralight, but pumping performance justifies the weight. Reaches 160 PSI for road tires while remaining efficient for lower-pressure gravel and mountain setups. For bikepacking where unlimited inflation matters, the Mini Morph is the go-to choice.
- Fold-out foot pad
- Flexible hose connection
- 160 PSI capacity
- 154g weight
- Frame mount included
Topeak Mini Morph with Gauge
Same excellent pump as the standard Mini Morph, with an integrated pressure gauge. Know exactly when you've reached target pressure rather than guessing. Particularly valuable for tubeless setups where proper pressure affects performance significantly. The small weight and bulk penalty is worth it if you care about precise inflation.
- Integrated pressure gauge
- Fold-out foot pad
- 160 PSI capacity
- Precise inflation
- Frame mount included
Lezyne Micro Floor Drive HV
Lezyne's Micro Floor Drive brings full floor pump performance to a packable size. The high-volume version moves serious air, making it ideal for mountain bike and gravel tires. The flip-thread chuck fits Presta and Schrader without adapters. Build quality is excellent—machined aluminum construction survives years of use. Larger than typical mini pumps but dramatically more effective. For bikepackers running larger tires, the efficiency gain is worth the size.
- High-volume design
- Floor pump efficiency
- Machined aluminum
- Flip-thread chuck
- Hose included
Genuine Innovations Ultraflate Plus
If you choose CO2, the Ultraflate Plus offers controlled release that prevents cartridge waste. The trigger mechanism lets you add air incrementally rather than all-or-nothing. Works with both threaded and non-threaded cartridges. Compact enough to forget it's there until you need it. For riders who want speed and pack a backup pump, CO2 provides value.
- Controlled release trigger
- Works with any cartridge
- Compact design
- Presta/Schrader compatible
- Includes 16g cartridge
The Bikepacking Decision
Mini Pump Is Usually Better
For most bikepacking trips, mini pumps make more sense:
Why:
- Unlimited inflation capacity for multi-day trips
- No need to carry/replace consumables
- Works regardless of temperature
- More reliable in remote conditions
When to choose mini pump:
- Any trip longer than two days
- Remote routes with limited resupply
- Cold weather riding
- Running tubeless (may need multiple seatings)
- You want zero dependence on consumables
When CO2 Makes Sense
CO2 works best as:
Primary for short trips:
- Day rides or overnighters
- Easy resupply access
- Racing or time-sensitive riding
Backup to mini pump:
- Carry one cartridge for emergency fast inflation
- Use pump normally, CO2 for desperate situations
- Hedge against pump failure
The Combined Approach
Many experienced bikepackers carry both:
- Mini pump as primary (unlimited capacity)
- One CO2 cartridge as backup (fast emergency inflation)
This provides redundancy without significant weight penalty. For more on essential backup gear, see our Emergency Gear Guide.
Choosing the Right Mini Pump
For Road and Gravel (Higher Pressures)
Needs: Reach 60-100 PSI efficiently
Best choice: High-pressure mini pump or floor-style pump
Recommendation: Topeak Mini Morph—reaches high pressures with foot pad efficiency.
For Mountain Bikes (Lower Pressures, Higher Volume)
Needs: Move lots of air quickly, lower target pressure
Best choice: High-volume pump
Recommendation: Lezyne Micro Floor Drive HV—moves air fast for bigger tires.
For Mixed Terrain
Needs: Handle both road-ish pressures and gravel/mountain tires
Best choice: Balanced floor-style pump
Recommendation: Mini Morph handles the range reasonably well.
Using Your Pump Effectively
Pump Technique
For hand pumps without foot pads:
- Brace pump against something solid (hip, leg, ground)
- Use full strokes
- Maintain steady rhythm
- Switch hands when tired
For floor-style pumps:
- Place foot pad on solid ground
- Hold handle with both hands if needed
- Use body weight, not just arms
- Full strokes throughout
Valve Tips
Presta valves:
- Unscrew valve nut
- Press to release air (confirms valve works)
- Attach pump head firmly
- Pump
Schrader valves:
- Remove dust cap
- Attach pump head directly
- Pump
Avoiding stem damage:
- Support valve stem while pumping
- Use flexible hose pumps when possible
- Don't force pump at angles
Carrying Your Pump
Frame Mount
Most pumps include frame mounts. Position where pump:
- Won't interfere with bags
- Stays accessible
- Is protected from damage
Common locations: downtube, seat tube, chainstay.
In Bags
Smaller pumps fit in frame bags or saddle bags. Protect from rattling against other items.
Velcro Straps
If frame mount doesn't work, velcro straps secure pumps to various frame locations.
Tubeless Considerations
Why Tubeless Changes Things
Tubeless tires may need:
- Higher initial inflation to seat bead
- Multiple inflation attempts if bead unseats
- More air volume than tubes
Pump Requirements for Tubeless
Standard inflation: Regular mini pump works fine for topped-up tubeless.
Bead seating: Difficult with mini pumps. Floor-style pumps help. Some riders carry tubes as backup for catastrophic tubeless failure.
Trail repairs: Plugged tubeless may hold air; pump may only need to top up.
The CO2 Exception
CO2's rapid inflation sometimes seats tubeless beads when pumps fail. Carrying one cartridge as tubeless emergency backup has value.
FAQ
How many CO2 cartridges should I carry?
One per expected flat plus one spare. For a weekend trip, 2-3 cartridges is typical. For extended trips, the weight of multiple cartridges exceeds a mini pump—switch strategies.
Will CO2 damage tubeless sealant?
Some debate exists. CO2's cold temperature may affect sealant temporarily. Many riders use CO2 with tubeless without issues; others prefer to pump.
How long does CO2 stay in tires?
CO2 permeates through rubber faster than regular air. Pressure may drop noticeably within 24-48 hours. Top up with a pump when possible.
What if my mini pump breaks?
Quality pumps rarely break, but it happens. Carrying a single CO2 as backup provides insurance. Learn to use hand to hold tire bead for emergency mounting if needed.
Can I pump with tubeless plugs installed?
Yes. Once the plug seals, inflate normally with pump or CO2. For detailed tire repair techniques, check our Patch Kit Guide. For tubeless-specific guidance including sealant and bead seating, see our Tubeless Tire Maintenance and Complete Bikepacking Maintenance Guide.
Quick Recommendations
Best mini pump: Topeak Mini Morph—floor-style efficiency, reasonable weight.
Best with gauge: Topeak Mini Morph with Gauge—precise inflation when it matters.
Best high-volume: Lezyne Micro Floor Drive HV—moves serious air for big tires.
Best CO2 inflator: Genuine Innovations Ultraflate Plus—controlled release prevents waste.
For complete repair kit guidance, see our Multi-Tool Guide and Patch Kit Guide.
Stay inflated. Keep riding.


