Offline Maps for Bikepacking: Navigating With Zero Cell Signal
20+ years testing gear in Colorado backcountry
Yes, Offline Maps Work for Bikepacking With No Cell Signal
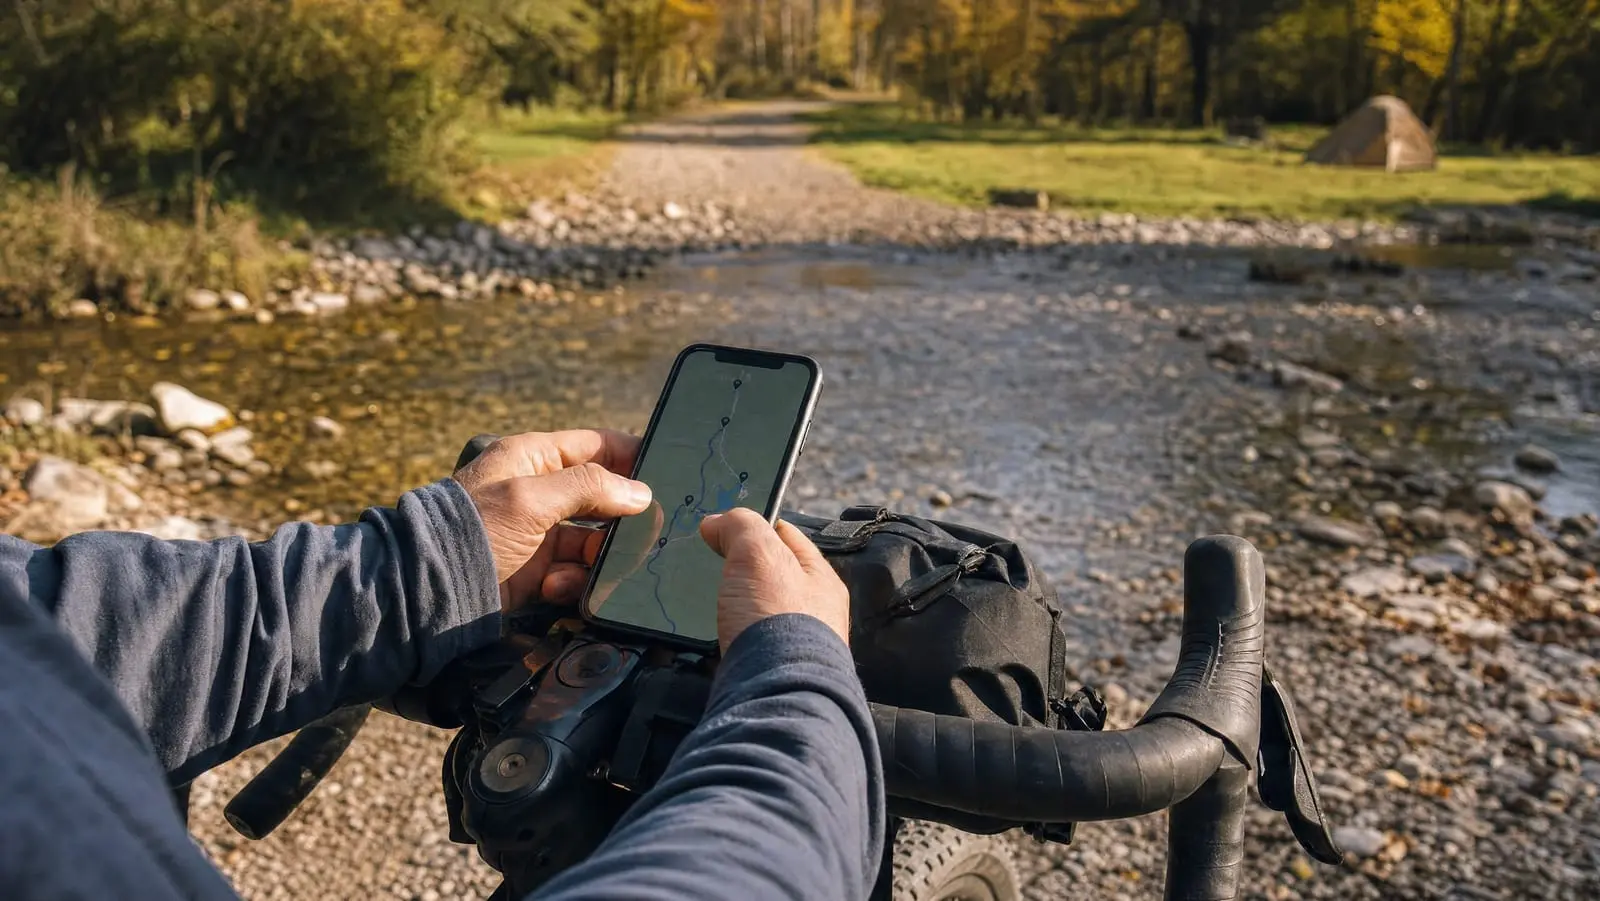
Your phone navigates fine with zero bars. It gets its position from satellites, not from cell towers, so a loss of service does not cost you your location — it costs you the map picture and the ability to calculate a new route. That is why "download offline maps" for bikepacking is really three separate downloads, and only one of them is obvious.
The obvious one is the map itself: the tiles, the picture of the world. The second is the routing data your app needs to build a new line without a connection. The third is your route file, saved locally instead of streamed from an account. Miss the second and everything looks perfect right up until the moment you need it.
This is the part of bikepacking route planning that nobody checks, because the failure is invisible at home. The map draws. The blue dot moves. Nothing tells you the app quietly gave up on routing forty miles ago.
GPS Is Not Cell Service, and Your Phone Already Knows It
The single most useful correction here: GPS is a one-way broadcast you listen to. According to GPS.gov, the satellites "transmit one-way signals that give the current GPS satellite position and time," and "the civilian service is freely available to all users on a continuous, worldwide basis." Your phone is not calling anything. It is receiving, and it does not need a cellular network or a data plan to work out where it is.
What cell service adds is everything around the fix. Apple's own documentation notes that Location Services uses GPS and Bluetooth "along with crowd-sourced Wi-Fi hotspots and cellular towers" to place your device — those extras make the fix faster and better indoors, and they are the parts that vanish in the backcountry. The satellite fix itself does not.
Airplane mode does not appear to turn this off. Apple describes airplane mode as switching off "all radios except for Bluetooth", and does not list GPS or Location Services among the things it disables — which fits how GNSS works, since the receiver only listens. That is why the standard trick works for most riders: airplane mode on, location services left on, map still moving. Confirm it on your own phone before you rely on it.
Losing signal does not cost you your position. It costs you the map and the routing.
Why the first fix can be slow in airplane mode
There is one real cost, and it shows up at the trailhead. Phones normally use assisted GNSS, which, as Wikipedia's A-GNSS overview puts it, "works by providing the necessary data to the device via a radio network instead of the slow satellite link, essentially 'warming up' the receiver for a fix." Without that help, a receiver has to pull orbital data off the satellites themselves, which the same source notes can take "as long as 12.5 minutes" in the worst case.
Dedicated devices handle it the same way. Garmin's documentation is blunt about it: "While connected to your Garmin account, the device downloads several days of satellite data, allowing it to quickly locate satellite signals." Sync at home on Wi-Fi and you carry a few days of that head start into the field.
The practical version: get your first fix before you go to airplane mode, outdoors, with sky above you. After that the phone has recent orbital data and reacquires quickly. If you cold-start deep in a canyon on day three with no service, give it a few minutes before deciding the phone is broken.
The Three Layers of Offline Maps
Here is the model worth carrying around.
Layer 1: the basemap tiles
This is what "download this region" gets you — the rendered picture of roads, contours, and labels, stored on the device. Tiles are what most apps mean when they advertise offline maps, and they are usually the bulk of what you download. They are also the least useful layer on its own, because a picture cannot compute anything.
Layer 2: the offline routing graph
This is the data an app needs to calculate a route with no connection: the road and trail network as a graph, with the rules for what a bike may ride. Some apps ship it inside the same regional download as the tiles. Some treat it separately. Some do not have it at all and send every routing request to a server — which is fine at home and useless at a washed-out bridge.
OsmAnd is the clearest example of an app that does this locally. Its documentation states that "Offline navigation is enabled by default" and that before using it you should "ensure that the required maps are downloaded." The routing lives in the same regional file as the map. Not every app is built that way, so the honest instruction is: find out what yours does before you rely on it. Our comparison of the best bikepacking navigation apps is about exactly this — which app's failure mode you can live with.
Layer 3: your route file
The line you are actually following. It has to exist on the device, not in an account that needs a login to open. This is the cheapest layer to secure and the one that strands people most often, because a route sitting in a cloud library looks identical to a route saved offline until the moment you try to open it on a ridge.
Layer 1 without layer 2 is the trap. Your map draws beautifully. You hit a closed forest road at 4 p.m., ask for a detour, and the app spins. It has the picture and not the network.
What to Download Before You Leave Cell Coverage
Work the three layers in order, then add redundancy.
The region tiles. Download a corridor around your route where the app allows it, and only as deep a zoom as you will genuinely use. Add a generous margin — at least a full day's ride of slop on each side, more if your bailouts run perpendicular to the route.
The routing data. If your app lists it separately, get it. If it does not say, assume the worst and carry a backup that does not need routing at all.
The route file, three copies in two formats. One: saved inside the navigation app and explicitly marked available offline. Two: exported as a GPX to the phone's own file storage, where an app update cannot take it with it. Three: loaded onto a second device — a partner's phone, or a head unit. Our guide to building a GPX route for bikepacking covers splitting a long route into daily files, which also makes it far easier to reload one day rather than the whole trip.
A bike computer is the strongest third copy, because it is a separate battery, a separate operating system, and a sunlight-readable screen. We cover that side in the best cycling computers for bikepacking.
While you are online, this is also the moment to save the things that are not the route: water sources and camp waypoints, and whatever surface information you gathered. Both are separate jobs we will cover on their own — mapping water and camp waypoints, and finding real gravel surface data — but the download happens now, with the rest.
Storage and Zoom Level, Honestly
Downloads scale with two things: how much area you cover and how deep you zoom. The zoom half is the one that surprises people, because it is not linear.
The OpenStreetMap wiki's zoom level table makes the scale plain: showing the whole world takes 1 tile at zoom 0, 1,048,576 tiles at zoom 10, and 1,099,511,627,776 tiles at zoom 20. Every level down multiplies the tile count by four. That is the entire reason "just grab the state at max zoom" turns into a download you abandon at a gas station.
Two rules follow, and they are worth more than any specific number:
- Download a corridor, not a rectangle. A buffer around your route line is a fraction of the bounding box that contains it, and the difference grows with every zoom level.
- Read the size estimate the app shows you before confirming. Most apps that let you pick an area will quote a size before you confirm. That quote is the only download figure you should trust, because it reflects your app, your zoom range, and your region — not a number from an article.
Then check free space on the phone before you start, not after. A download that dies at 80 percent on hotel Wi-Fi is a download you do not have.
Battery Is the Real Problem When You Navigate Offline
Offline maps solve data. They do not solve power, and a screen-on navigation app is usually the heaviest single thing running on the phone.
Start with the screen. Apple's own guidance is direct — "Dimming the screen extends battery life" — and a map cranked to full brightness against midday glare is the worst case. Turn it down to the dimmest setting you can still read, and accept that in direct sun that may not be dim at all.
Then stop looking at it. The best power saving on a phone is a dark screen: navigate by turn announcements through an earbud, or let a bike computer be the always-on display and keep the phone as the planning tool in your bag. We go deeper on the mounting, charging and visibility side in running navigation off your phone, and on what to actually carry in our portable charger guide for your phone and GPS.
Airplane mode helps here too, and now you know why it is safe: the transmitters are the expensive part, and the GNSS receiver is not one of them. Apple lists being "used in a low signal environment" among the things that affect battery life, and advises enabling airplane mode if you know you will be in an area with no coverage for some time. A phone hunting for a tower it cannot find is a phone spending power on nothing.
Cold makes all of it worse. Apple specifies an ambient operating range of 0º to 35ºC (32º to 95ºF) and warns that use in very cold conditions "might temporarily shorten battery life and could cause your device to turn off", with capacity returning once the device warms up. A phone that dies at 20 percent in the morning is usually just cold. Keep it in a jacket pocket against your body between navigation checks, and see our cold weather bikepacking guide if your trip runs into shoulder season.
What to Do When Offline Navigation Fails Anyway
Sometimes it goes wrong regardless — the route is stale, the track disappears into a clearcut, or you simply missed a junction. Recovering from a wrong turn is its own skill, and one we will cover separately in a piece on getting back on course after a wrong turn. The short form: stop moving before you start problem-solving, and never guess forward.
Two backups are worth their weight. The first is analog: a paper map or a printed route sheet with your bailout towns on it, which needs no battery and does not care about zoom levels. The second is a satellite messenger — the device that works precisely where phones do not. We cover the category in the best satellite messengers for bikepacking, and the wider "it has gone wrong" playbook in bikepacking self-rescue.
Keep the roles straight: a messenger is for reaching people, not for finding a road. It will not replace layer 2.
Download the Corridor, Not the State
The tradeoff running through all of this is honest and worth naming: every one of these steps costs you time and storage at home in exchange for options in the field. A corridor download, a separate GPX, a second device, and fifteen minutes of testing is maybe an hour of faff the night before departure. Skipping all of it works perfectly on the days nothing goes wrong.
So decide by consequence, not by convenience. On a signposted rail trail, tiles alone are plenty. On a remote gravel route where a single closed road means a sixty-mile improvisation, layer 2 is the whole point, and the hour is cheap.
If you want the rest of the system this fits into — building the route, picking the surface, and carrying it — start with our complete guide to planning and navigating a bikepacking route.