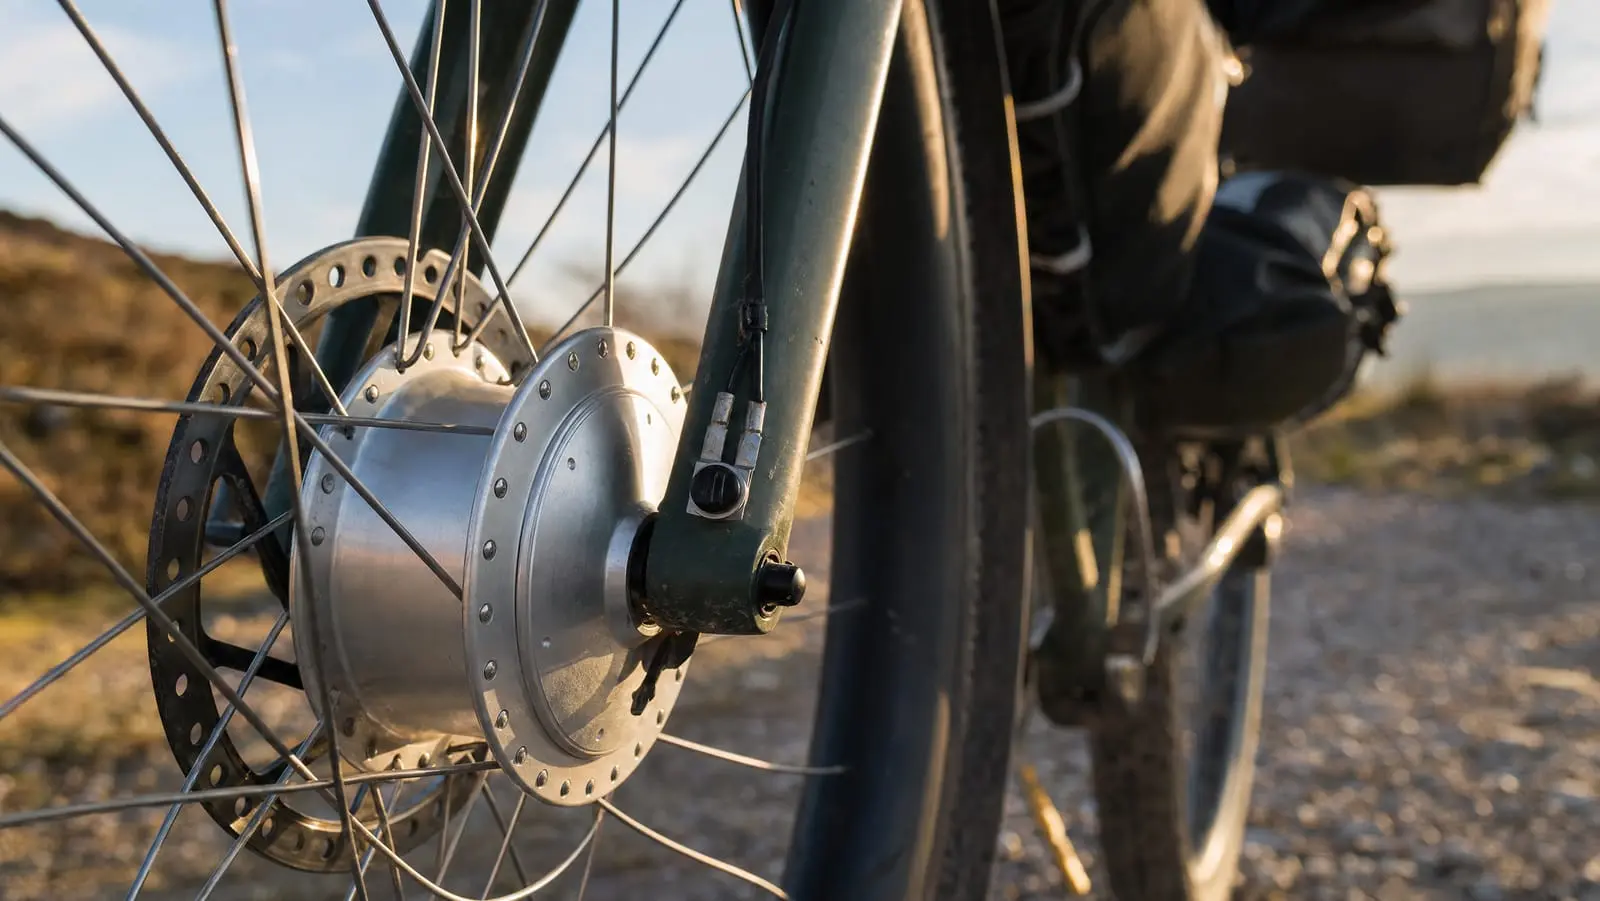
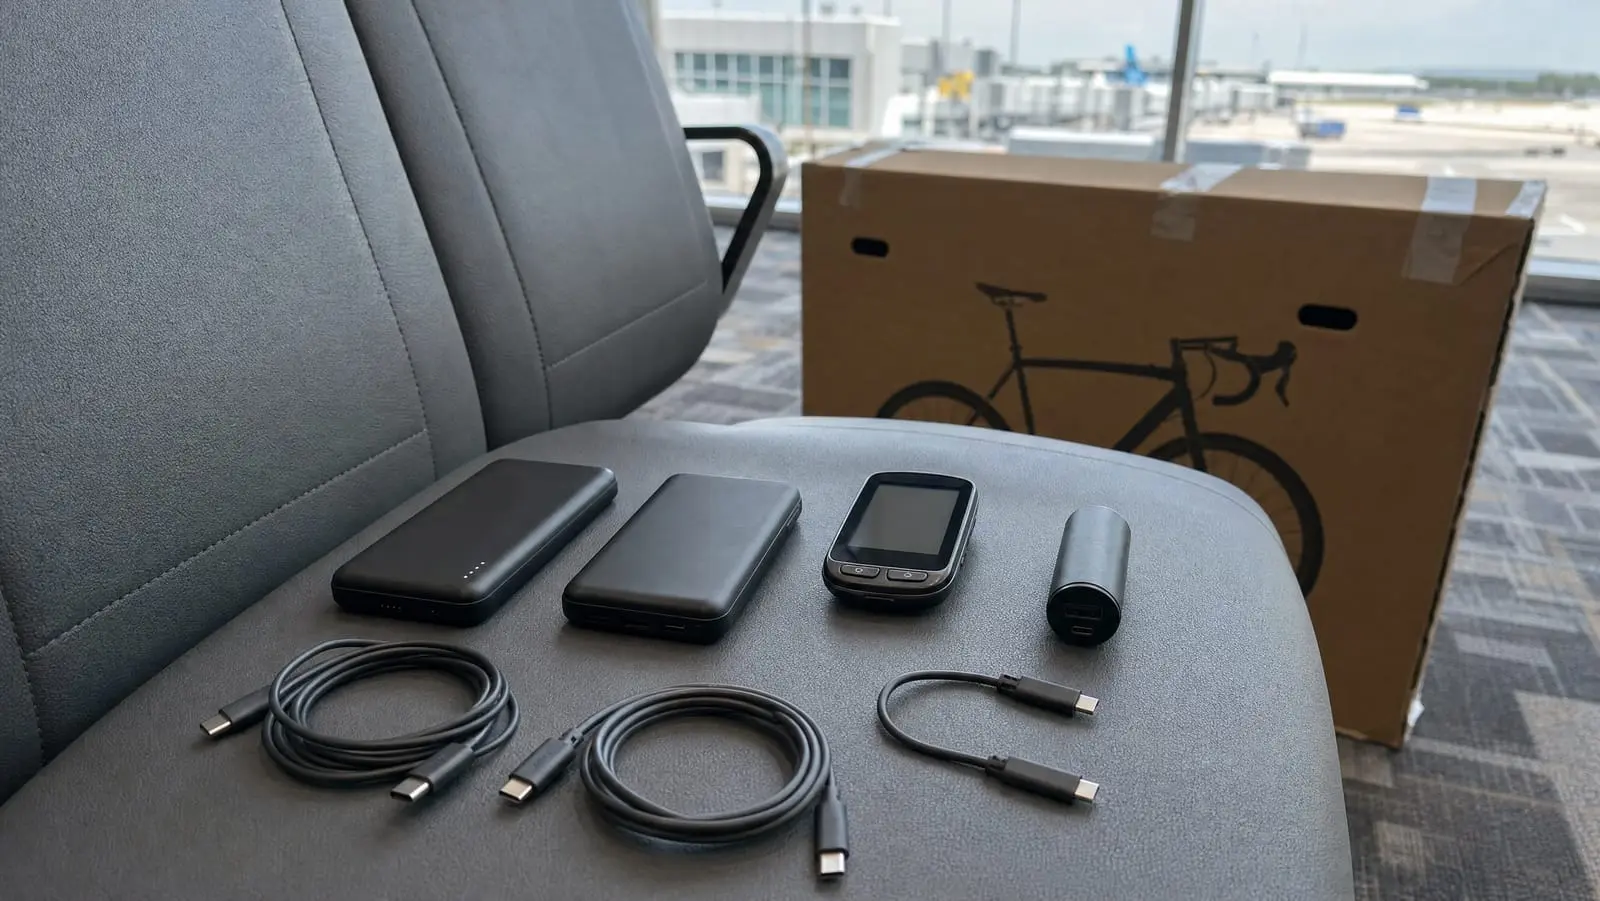
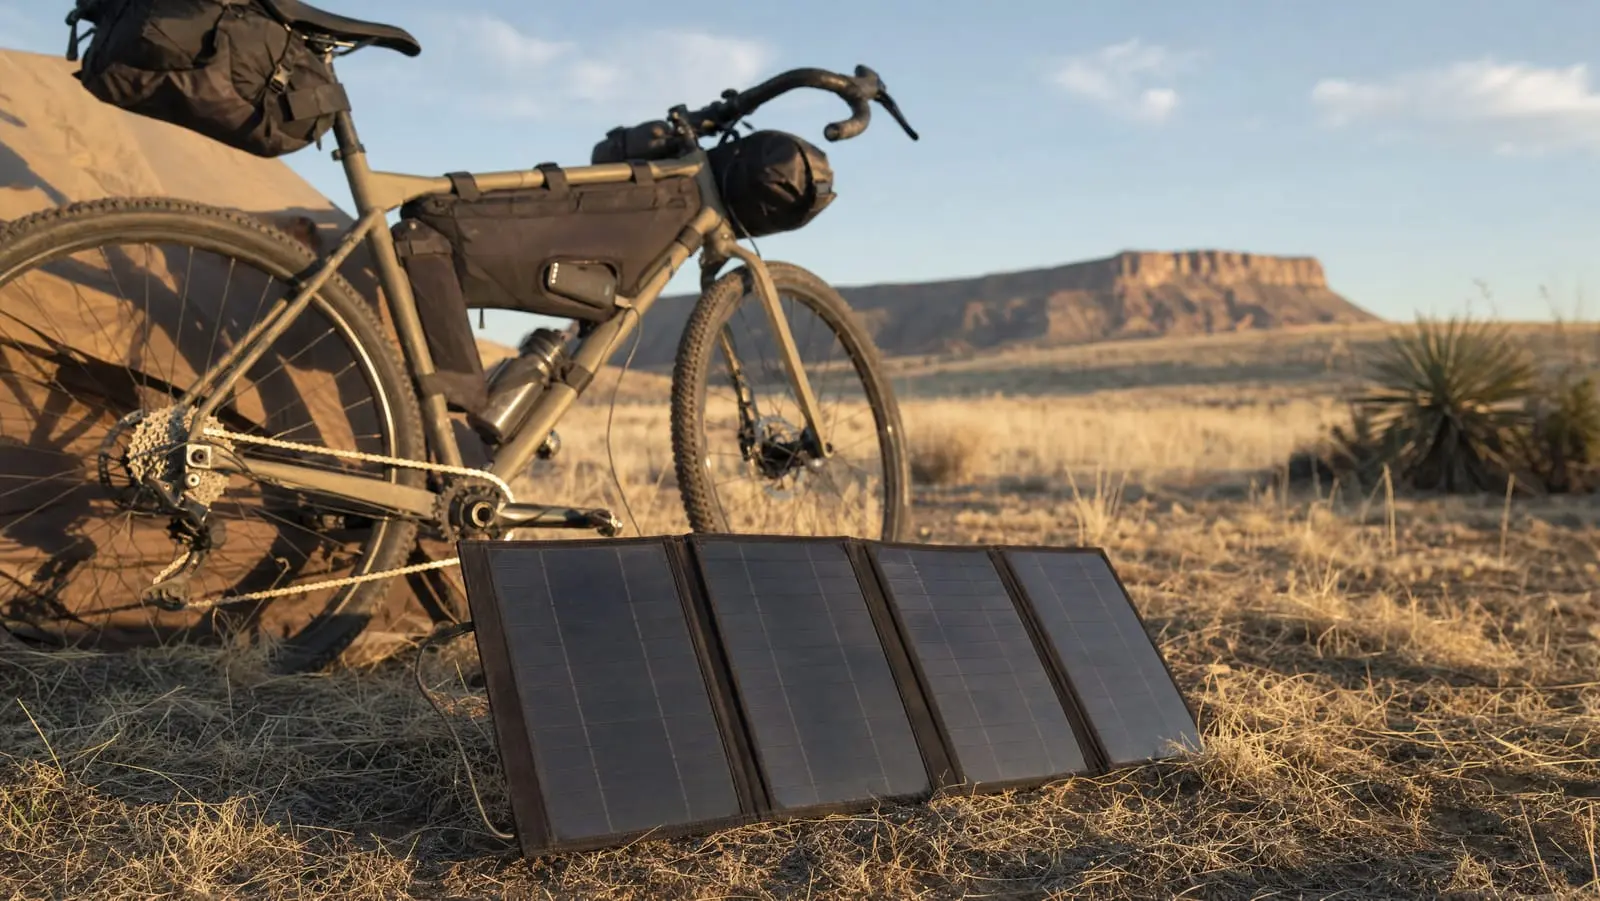
Installing and Wiring a Dynamo Hub for Bikepacking
20+ years testing gear in Colorado backcountry
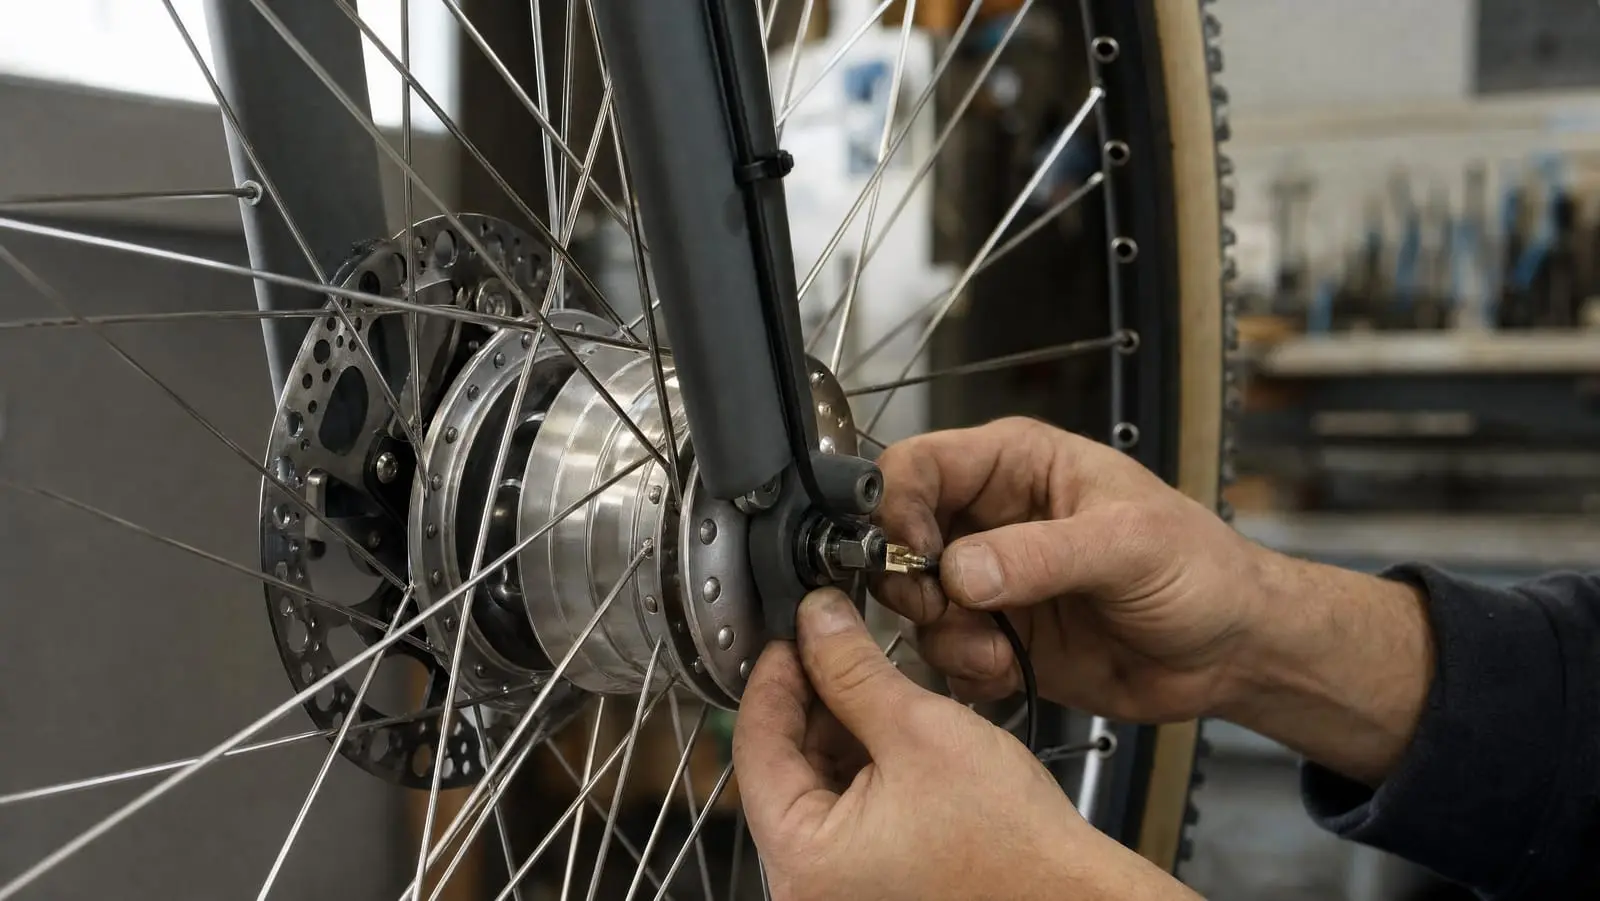
How to Install and Wire a Dynamo Hub, Start to Finish
Here is how to install and wire a dynamo hub: lace it into a front wheel on correctly calculated spoke lengths, torque the skewer, run a two-conductor cable up the inside of the fork blade to your light, and crimp the connectors properly. Three jobs, three skill levels.
The generator is the part that will not let you down. Schmidt says of its SONdelux that the generator "is optimally protected within the hub and is fully wear and maintenance free as it works without gears or contact," with a five-year guarantee period. What you bolt and solder around it is what breaks.
Rough timings: fitting a prebuilt dynamo wheel and plugging in a light is a 30-minute job. Wiring a light plus a USB charger with heat-shrunk crimps is an evening. Lacing the wheel yourself adds hours. Not sure the approach suits your riding? Start with our bikepacking power and charging setup overview and the dynamo versus power bank comparison.
Prebuilt Wheel, Shop Build, or Lacing It Yourself
Buy the wheel prebuilt. Fastest and safest. You give up some rim and spoke choice, and you must check axle standard, rotor mount and dropout width against your fork.
Buy the hub, pay a wheelbuilder. Our default recommendation. You pick the rim and spokes, and someone with a tension meter owns the part that can strand you. If you have not settled on a hub yet, start with the best dynamo hubs for bikepacking and come back here once it is on order.
Lace it yourself. Fine if you already build wheels, a poor choice for a first build: a badly tensioned front wheel breaks spokes under a loaded bike, usually somewhere inconvenient.
None of this tells you which hub to buy. Choosing the best dynamo hub itself, and which dynamo hubs are worth it for loaded riding, is a separate question from getting one onto the bike.
The Dynamo Wheel Build: Spoke Length Is Not a Guess
A dynamo wheel build for bikepacking starts with measurements, not with spokes left over from your last wheel.
Park Tool lists what the calculation needs: hole count, effective rim diameter, the "hub flange diameter at the spoke holes, also known as the Spoke Pitch Diameter," the left and right flange spacing relative to hub centre, and your lacing pattern. It warns that "we are not concerned with outside diameter of the flanges."
The trap when swapping a dynamo in is asymmetry. Park Tool says to measure both flanges and "not assume they are the same," and that where the flange-to-centre figures differ you may be offered "differential spoke selections, meaning that different length spokes should ideally be used on left and right sides."
Manufacturers publish these numbers, so use them. Schmidt's SONdelux sheet gives a pitch circle diameter of 54 mm for both versions, with flange-to-hub-centre listed as 25 mm on the non-disc hub and 23 mm one side, 25 mm the other, on the centre-lock disc version. The same sheet says the hub is designed for conventional crossed spoking on "high-quality 2 mm spokes," and that radial lacing "is allowed, yet not recommended (wheels tend to vibrate)."
Tension, and Why We Pay Someone
Tension is the whole game and the part you cannot eyeball. Park Tool's TM-1 shows a deflection reading on its own scale, which you convert to kilograms-force using the included printed table or Park's Wheel Tension App. Park Tool says the table is organised by spoke material and size, so a raw reading tells you whether a wheel is evenly tensioned, but not the actual figure until you look it up for your gauge.
No meter and no previous builds? Pay a wheelbuilder. Either way, learn to spot a wheel going soft: our guide to truing a wheel and dealing with broken spokes covers the roadside version, which you want regardless of who laced it.
Fitting the Wheel and Torquing the Skewer
Fit the wheel before you cut a single wire, so you can see where the axle contacts sit.
Schmidt specifies a tightening torque of 8 to 10 Nm on the Allen skewer supplied with the hub, and says to "check the tightening torque after 300 km" following installation. Grease the thread and bolt head but not the shaft — Schmidt warns that greasing the shaft risks "clogging of the pressure compensation system."
An under-tight skewer is not just a loose wheel. Schmidt notes that if it is tightened insufficiently "the axle might move in the fork slots causing a rattling noise," and an axle that shifts works your connectors loose.
Routing the Wire: Fork Blade, Zip Ties and a Service Loop
Schmidt's instruction for a headlight is simple: "Pass the cable along the inside of the fork blade to the SON and plug it in," then "fasten the cable with zip ties at the fork so that plugs can be easily disconnected before the wheel is removed." That last clause is the design brief for the cable run. If you have to cut a zip tie to fix a flat, you routed it wrong.
- Inside of the fork blade, not the leading edge, so the blade shields the cable from spray and from grit thrown by the front tyre.
- Leave a service loop at the hub end, long enough that the wheel drops out with the connectors attached and that a damaged end can be cut back and re-crimped.
- Strain-relieve every bend with a tie just before and just after it, and add heat shrink wherever the cable enters or leaves a fork port, a guide or the crown.
- Check clearance at full steering lock, suspension compressed, bags fitted. The cable must never be able to reach a spoke, a rotor or the tyre.
Still choosing the lamp? Our overnight lighting guide covers what a dynamo headlight buys you after dark.
Connectors: Dynamo Connector Corrosion Is the Real Failure Mode
The generator is sealed inside the hub. The joint between your cable and the axle is two pieces of exposed metal living a hand's width above a wet road, and that is the part that fails.
Schmidt describes SON hub dynamos as having "robust 4.8 mm spade connectors," and says the 4.8 mm size is "more solid and easier to use compared to standard 2.8 mm connectors." Its crimp terminals are listed as tin-plated brass, uninsulated, in 2.8 x 0.5 mm and 4.8 x 0.8 mm. The tin plating buys the corrosion resistance; a scratched or badly crimped terminal loses it.
| Connection | How it goes together | How it fails | Best for |
|---|---|---|---|
| 4.8 mm spade | Crimped terminal pushed onto the axle contact | Salt works under the plating; the joint greens up and the light flickers over bumps | The hub end, where you must unplug to pull the wheel |
| Coaxial adapter | Replaces the two axle spades with one socket; Peter White Cycles notes coaxial connections require soldering | A poor solder joint | Riders tired of fiddling spades past a dropout |
| Soldered and heat-shrunk | Soldered, then sealed under shrink tube | Rarely, but it is permanent | Mid-cable joins and the light end |
| Piggyback spade | Doubles a second cable onto one axle contact | As a spade, with twice the area to keep clean | A light and a charger on one hub |
Copy Schmidt's assembly sequence exactly: separate the two conductors "over a length of about 4 cm," strip the ends "for about 5 mm," slide the shrink tube over the split, then "crimp the plugs on with a crimping tool or pointed pliers (if in doubt, solder as well)," making sure "the first pair of claws must grip the insulation." Shrink the tube on afterwards.
Then grease it. Schmidt says to "grease the plugs a little, so you can push the contacts onto the SON hub dynamo more easily."
A well-crimped connection, shrunk over and slightly greased, gives a very reliable connection.
A thin film on the outside of the joint is the goal — enough to keep water out, not enough to sit between the mating faces. Then make the hub-end plugs the only ones you ever unplug. Peter White Cycles advises the same: pull the piggybacks off the hub and leave the light and charger wires joined, so you never rebuild those connections.
Wiring a Dynamo Light and Charger on One Hub
You can run both. You are splitting a small budget either way.
Peter White Cycles describes the standard arrangement as a parallel connection: the headlight wires use standard 4.8 mm female spade connectors at the axle, and the charger wires use piggyback connectors stacked on the same contacts. Mount the piggybacks with their male connectors facing the hub shell, which that page notes adds dropout clearance.
Polarity is a non-issue at the hub — Peter White Cycles states that the SON has no polarity, and Schmidt's sheet says the contacts are "arbitrarily interchangeable." Some headlights do care which wire is earth, so read the lamp's instructions.
Now the arithmetic, which is less generous than people expect. CyclingAbout states that "a 3-watt dynamo hub will put out 6 volts at 0.5 amps (3W = 6V x 0.5A)" in AC, and that after rectification the DC output is "more like 5V and 0.5A." Schmidt rates the SONdelux at a nominal 3 watts and says it is "designed to operate a rear light and a headlight" — a rear light, note, not a phone.
Two numbers from CyclingAbout set your expectations:
- Most dynamo chargers "will hit 1w between 7-10kph," the best reach 2 watts at 11 to 13 km/h, and below roughly 2 watts "a dynamo charger will not be able to provide power to most devices."
- Chargers are current-limited. Its example: "Sinewave Revolution is 1A, therefore the maximum power is about 5W (5V x 1A)."
So with the light on, the charger gets what is left. Peter White Cycles is direct: "turn your lights off while charging so as to have all of the hub's power available for charging." Schmidt makes the mirror-image point — run a headlight alone on a SONdelux and "the headlight will take up the higher power."
That split is why the charger matters more than the hub. Our roundup of dynamo USB chargers covers which units hold output at low speed, and the power budget in watt-hours walkthrough tells you whether a dynamo can fill your daily demand.
The drag is real but small. CyclingAbout puts the efficiency of a good dynamo hub at 10 to 20 km/h at "around 50-60%," so "when making 2.5 watts for USB charging, you're using about 5 watts of your pedalling power" — which it works out, for a 150-watt rider on a flat road, as roughly 0.4 km/h slower, or three minutes over 100 km.
Corrosion and Winter: What Actually Kills a Dynamo Install
Schmidt is unambiguous about washing: "to prevent water ingress, the hub should never be exposed to strong jets of water (hose, pressure washer) or immersed in water." The bearings are permanently lubricated, with no way to re-grease them.
Testing backs it up. MBR blasted a typical hub with a jet washer "on full power, and at point-blank range," and reports that "when we pulled the hub apart there had been some water ingress," concluding that "overenthusiastic jet-washing can wreck your bearings and remove the grease." MBR calls that experiment completely unscientific, which is fair, but the direction is clear. Stihl's bike-washing guidance says to use a low-pressure setting, ideally 20 bar, and never to aim the jet at bearings and seals.
Our routine after salty or coastal riding:
- Rinse with a bucket or a low-pressure hose, aimed away from the hub seals.
- Unplug the hub-end spades, dry them, look for green or white powder, re-grease lightly, refit.
- Flex the cable along its length, checking for cracked jacket at ties and fork ports.
- Replace any terminal that will not come up clean. A crimp terminal is cheap next to a dark descent.
If you ride through winter, our cold-weather bikepacking guide covers the wider salt-and-grit problem your connectors are only one part of.
Testing the Install Before You Trust It
Lift the front wheel and spin it by hand. The light should come up as the wheel accelerates, and a standlight-equipped lamp should hold a glow after the wheel stops. Then test it on the road, with the bike loaded:
- Ride at a steady low speed and watch for output. CyclingAbout's 7 to 10 km/h figure for 1 watt is a sanity check on a charger that will not start.
- Ride a rough section and watch for flicker. A light that pulses over bumps is almost always a connector problem — a loose spade, a crimp gripping insulation instead of copper, or an under-torqued skewer letting the axle move.
- Charge one device for an hour and record what you got. That is the number your power plan should use.
One quirk that is not a fault: Schmidt notes that the "pole sensitivity" you feel turning the axle by hand "is a feature of the claw pole generator and has nothing to do with the smooth running of the bearings."
What We Would Do
Buy the hub, let a wheelbuilder lace it, and spend your own evening on the wiring — that is where the quality of the install lives. Route the cable inside the fork blade, tie it so the plugs come apart before the wheel does, crimp with a real tool, heat shrink the split, grease the plugs lightly, and keep a pressure washer away from the hub.
Then re-check the skewer torque at 300 km, as Schmidt says to, and inspect the spades every time you clean the bike. An install that gets that attention disappears into the bike for years.
For the rest of the system — what to charge, what to carry as backup, and how the numbers add up over a multi-day route — work through the complete bikepacking power and charging guide.